NeuroCube
3D Printed Robot Chassis + Hardware Updates!
NeuroCube now has a new design along with some changes to hardware!
3D Design
The design is a unified design for both Isaac Sim and the real world, created using Onshape CAD. It is meant to eliminate differences in the physics and shape between the digital twin and physical robot.
Here are the different parts of the design:
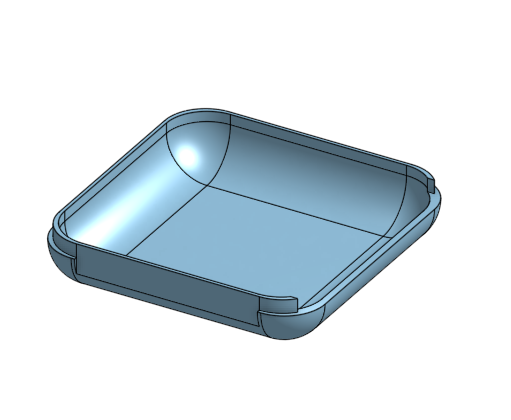
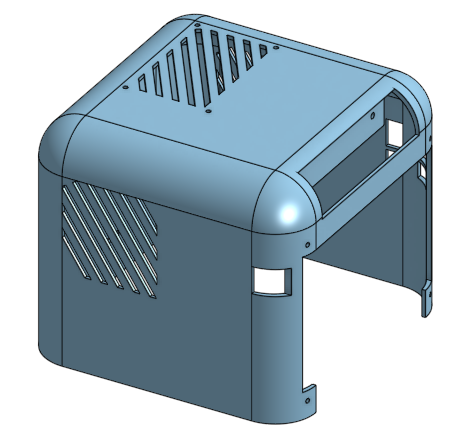
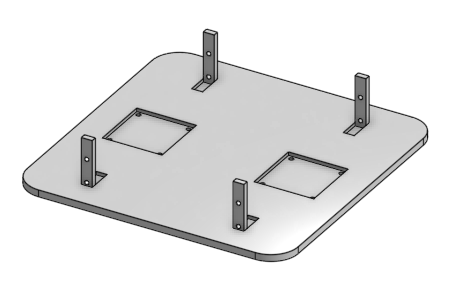
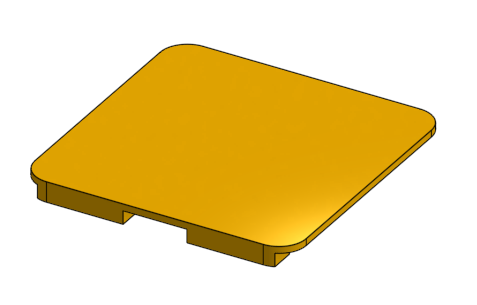
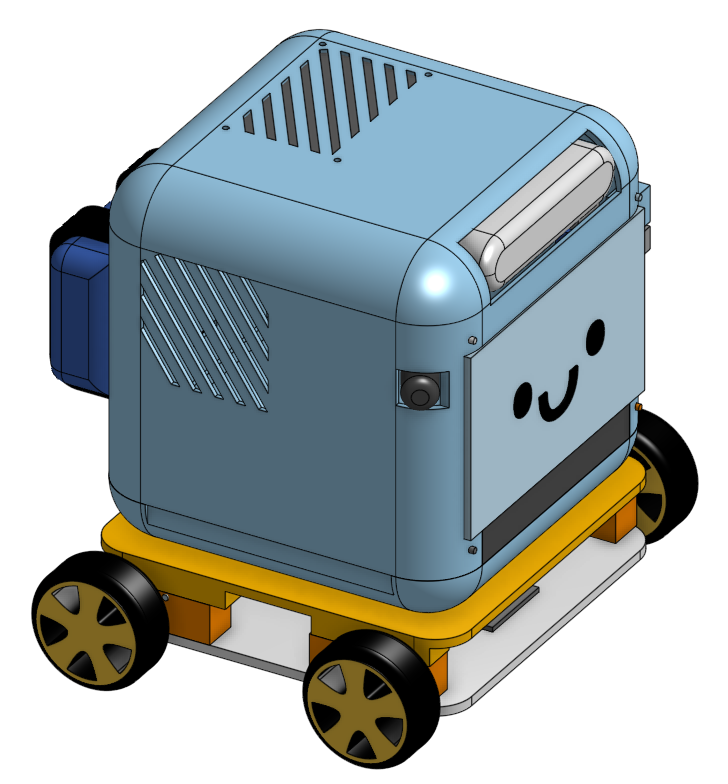
Here is a screenshot of the final design (with placeholders for electronics, motors, and wheels):
3D Printing
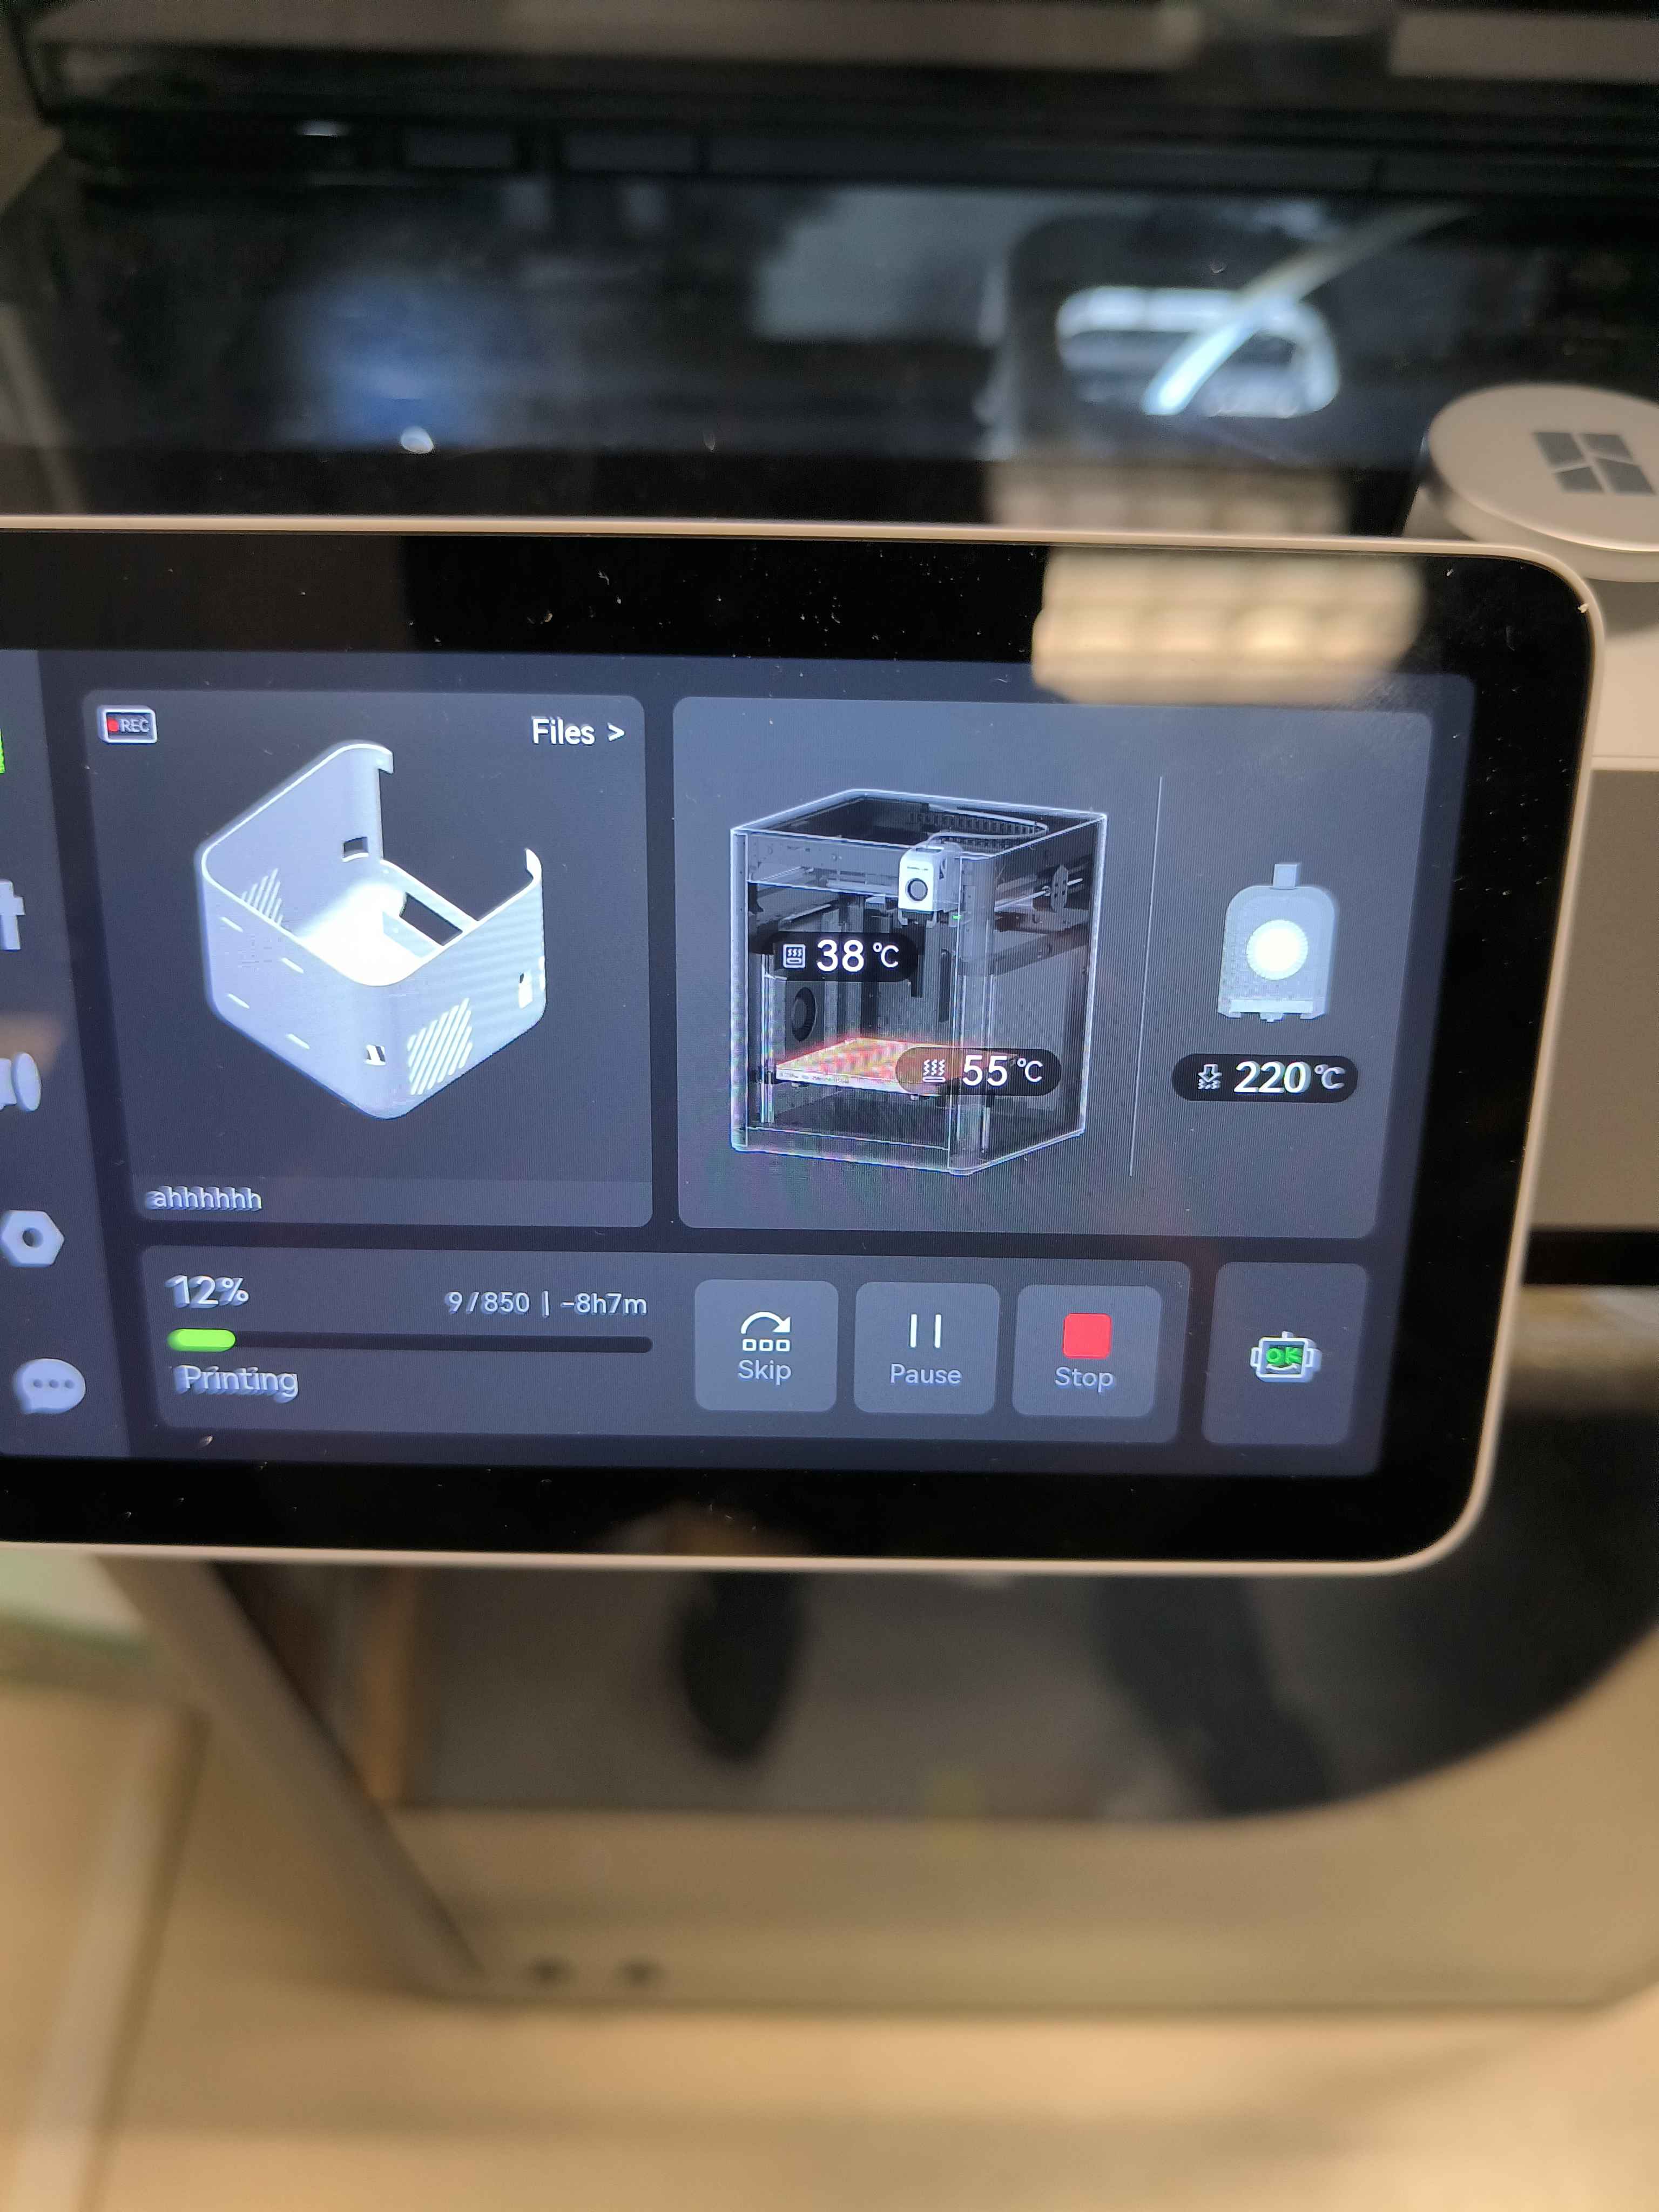
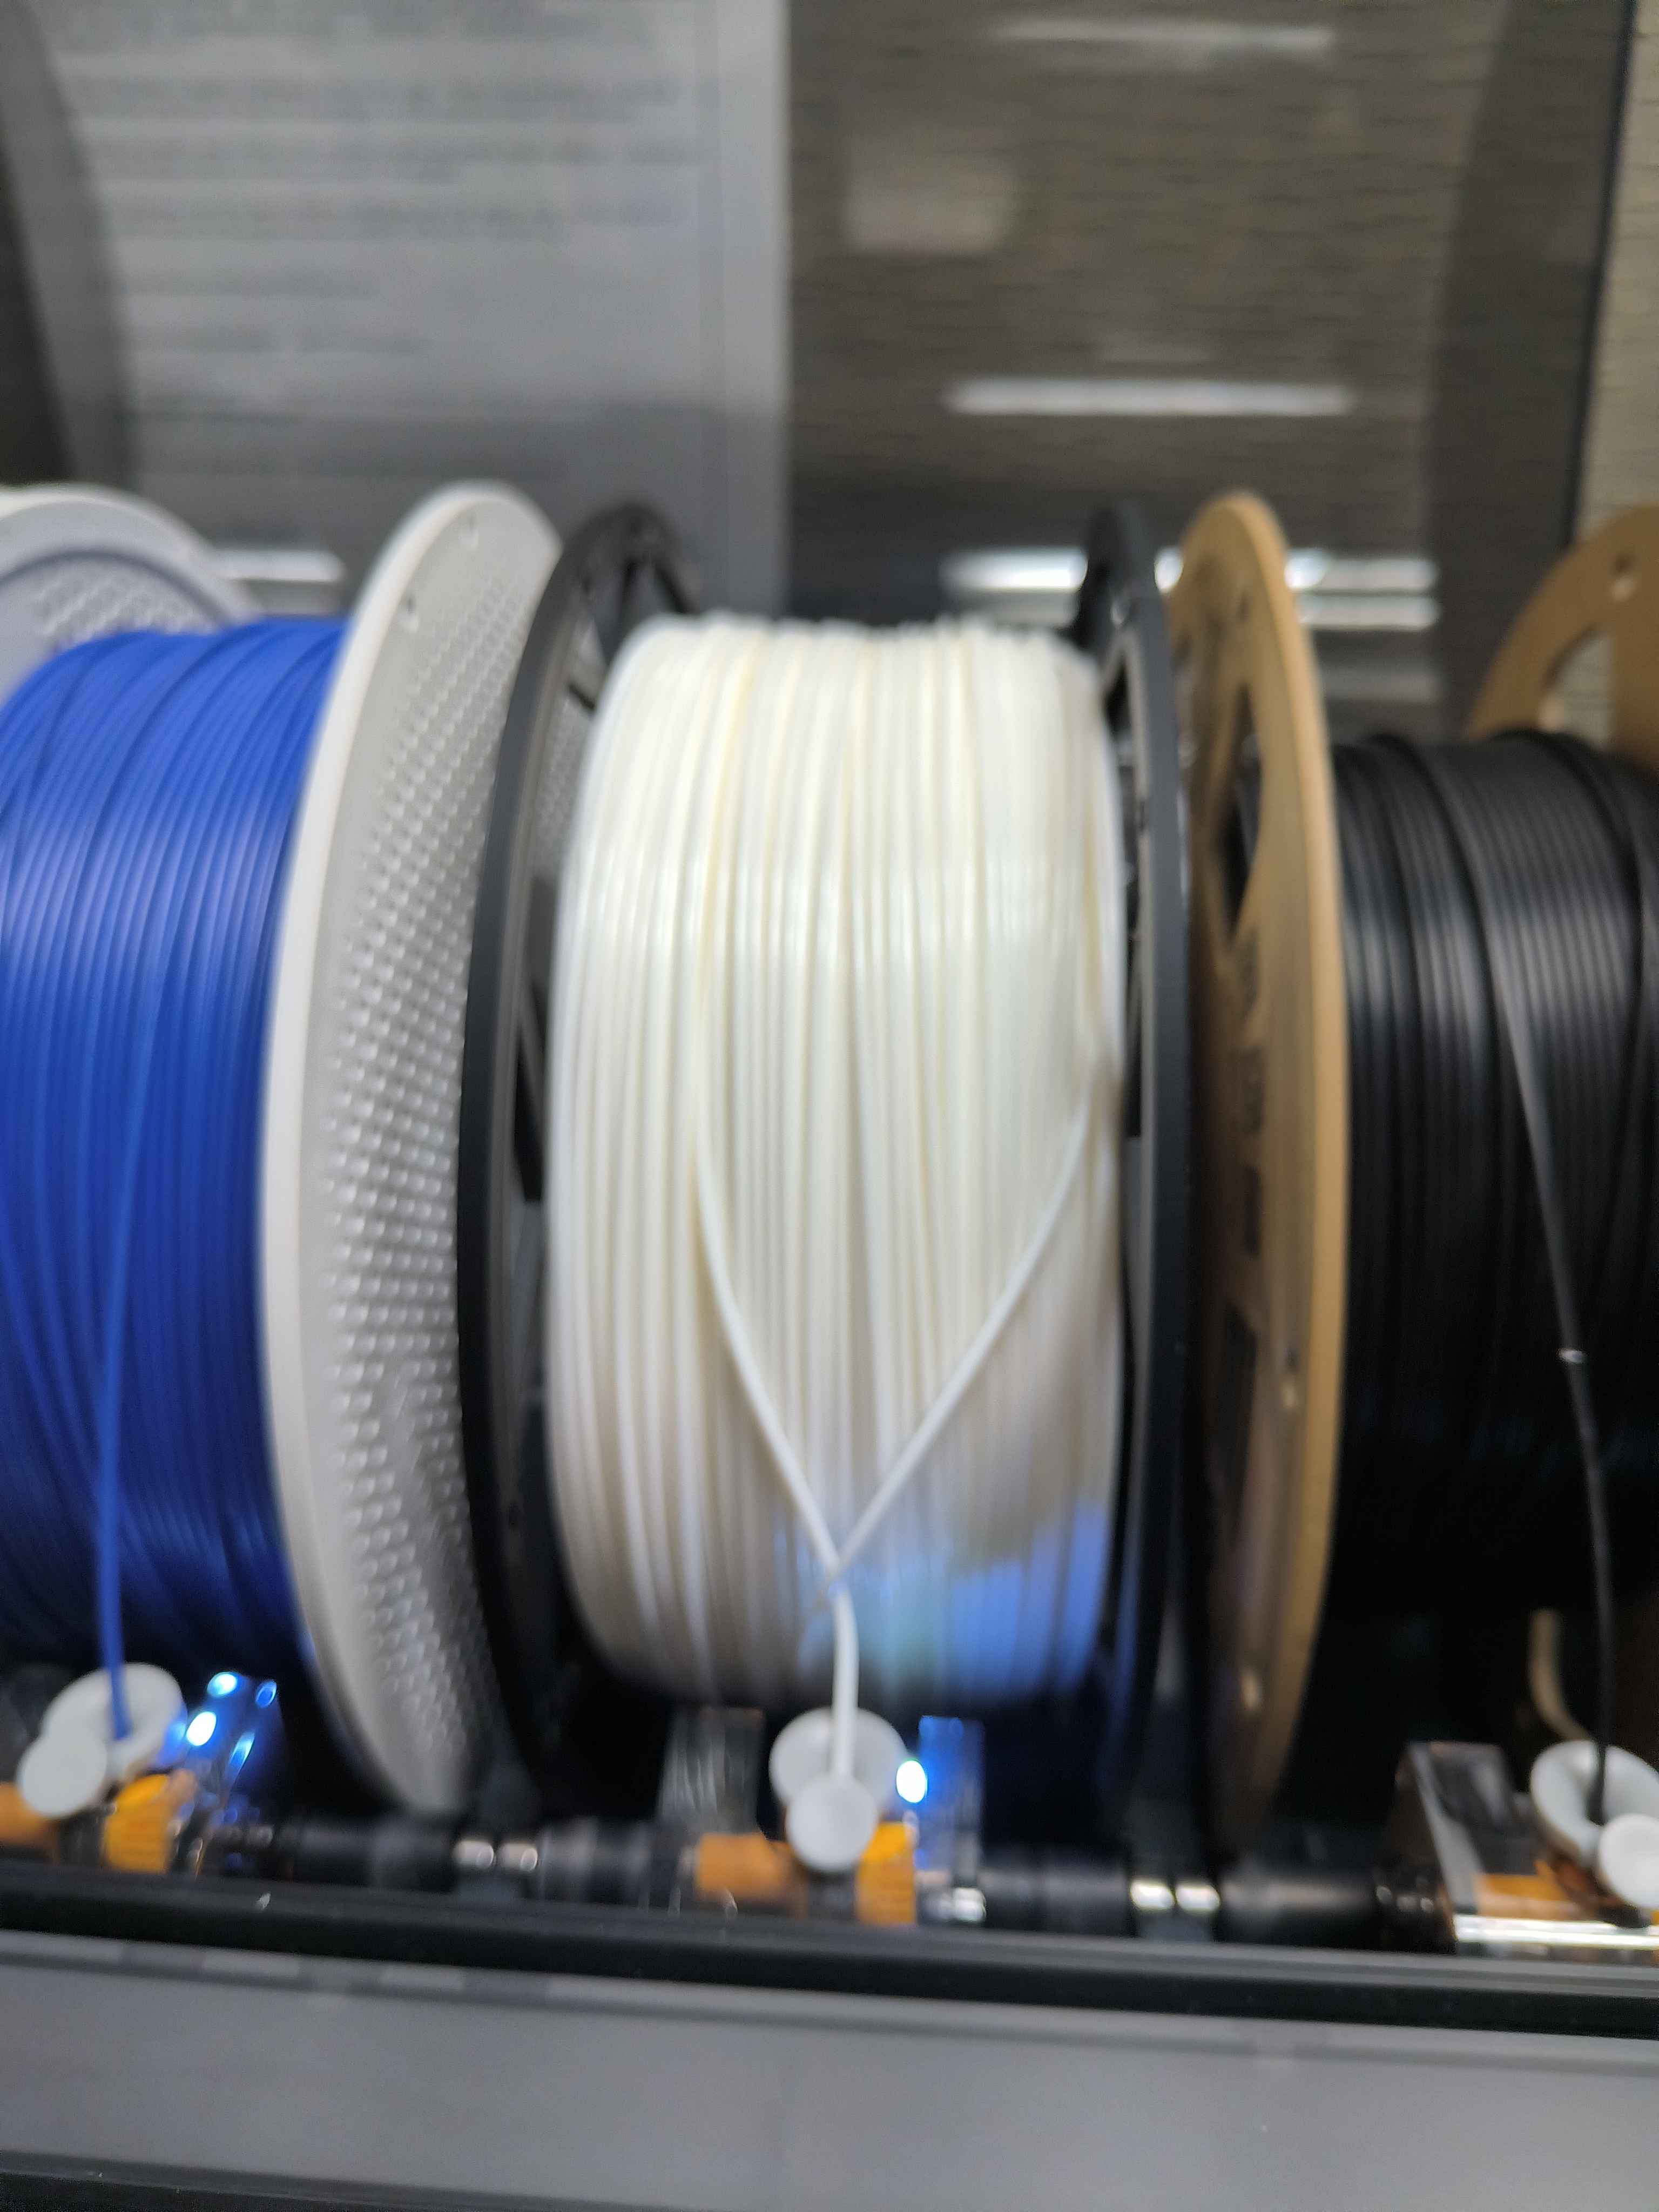
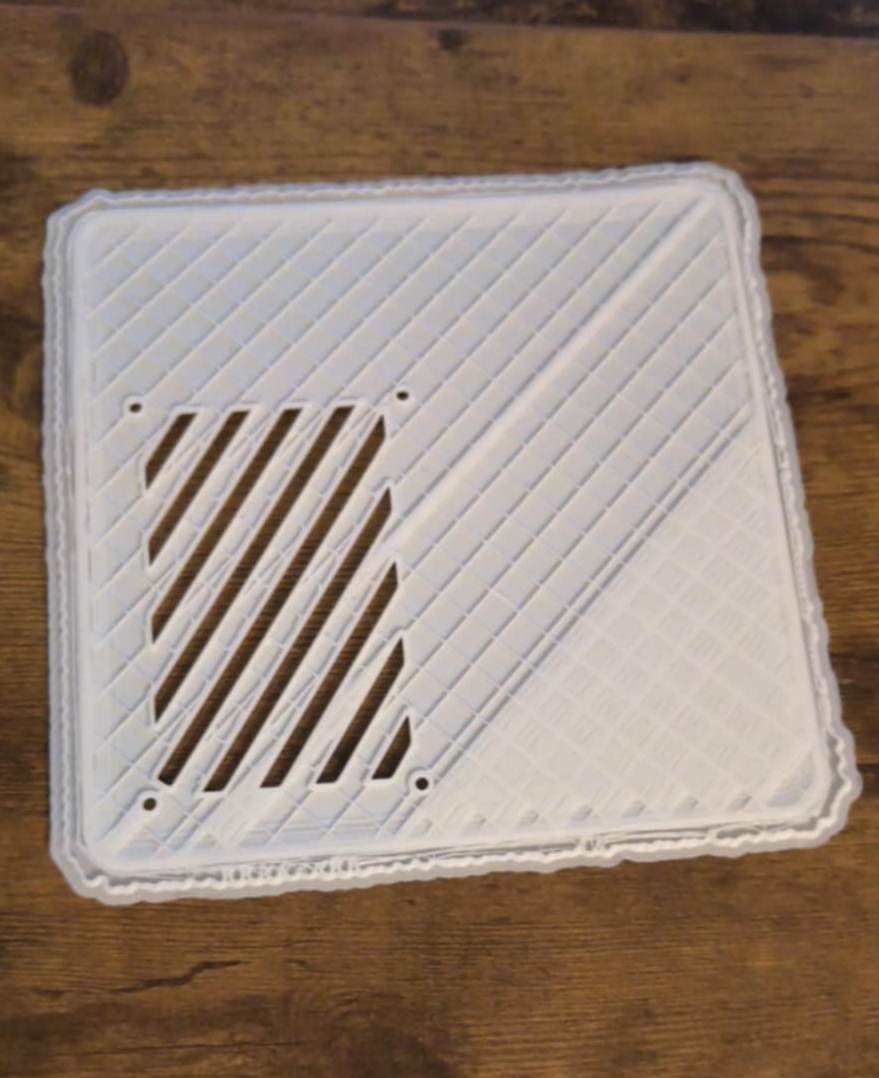
To print the designs, I used a Bambu Lab X1 Carbon printer with white PLA filament (0.4mm nozzle, 0.2mm standard strength layer height):
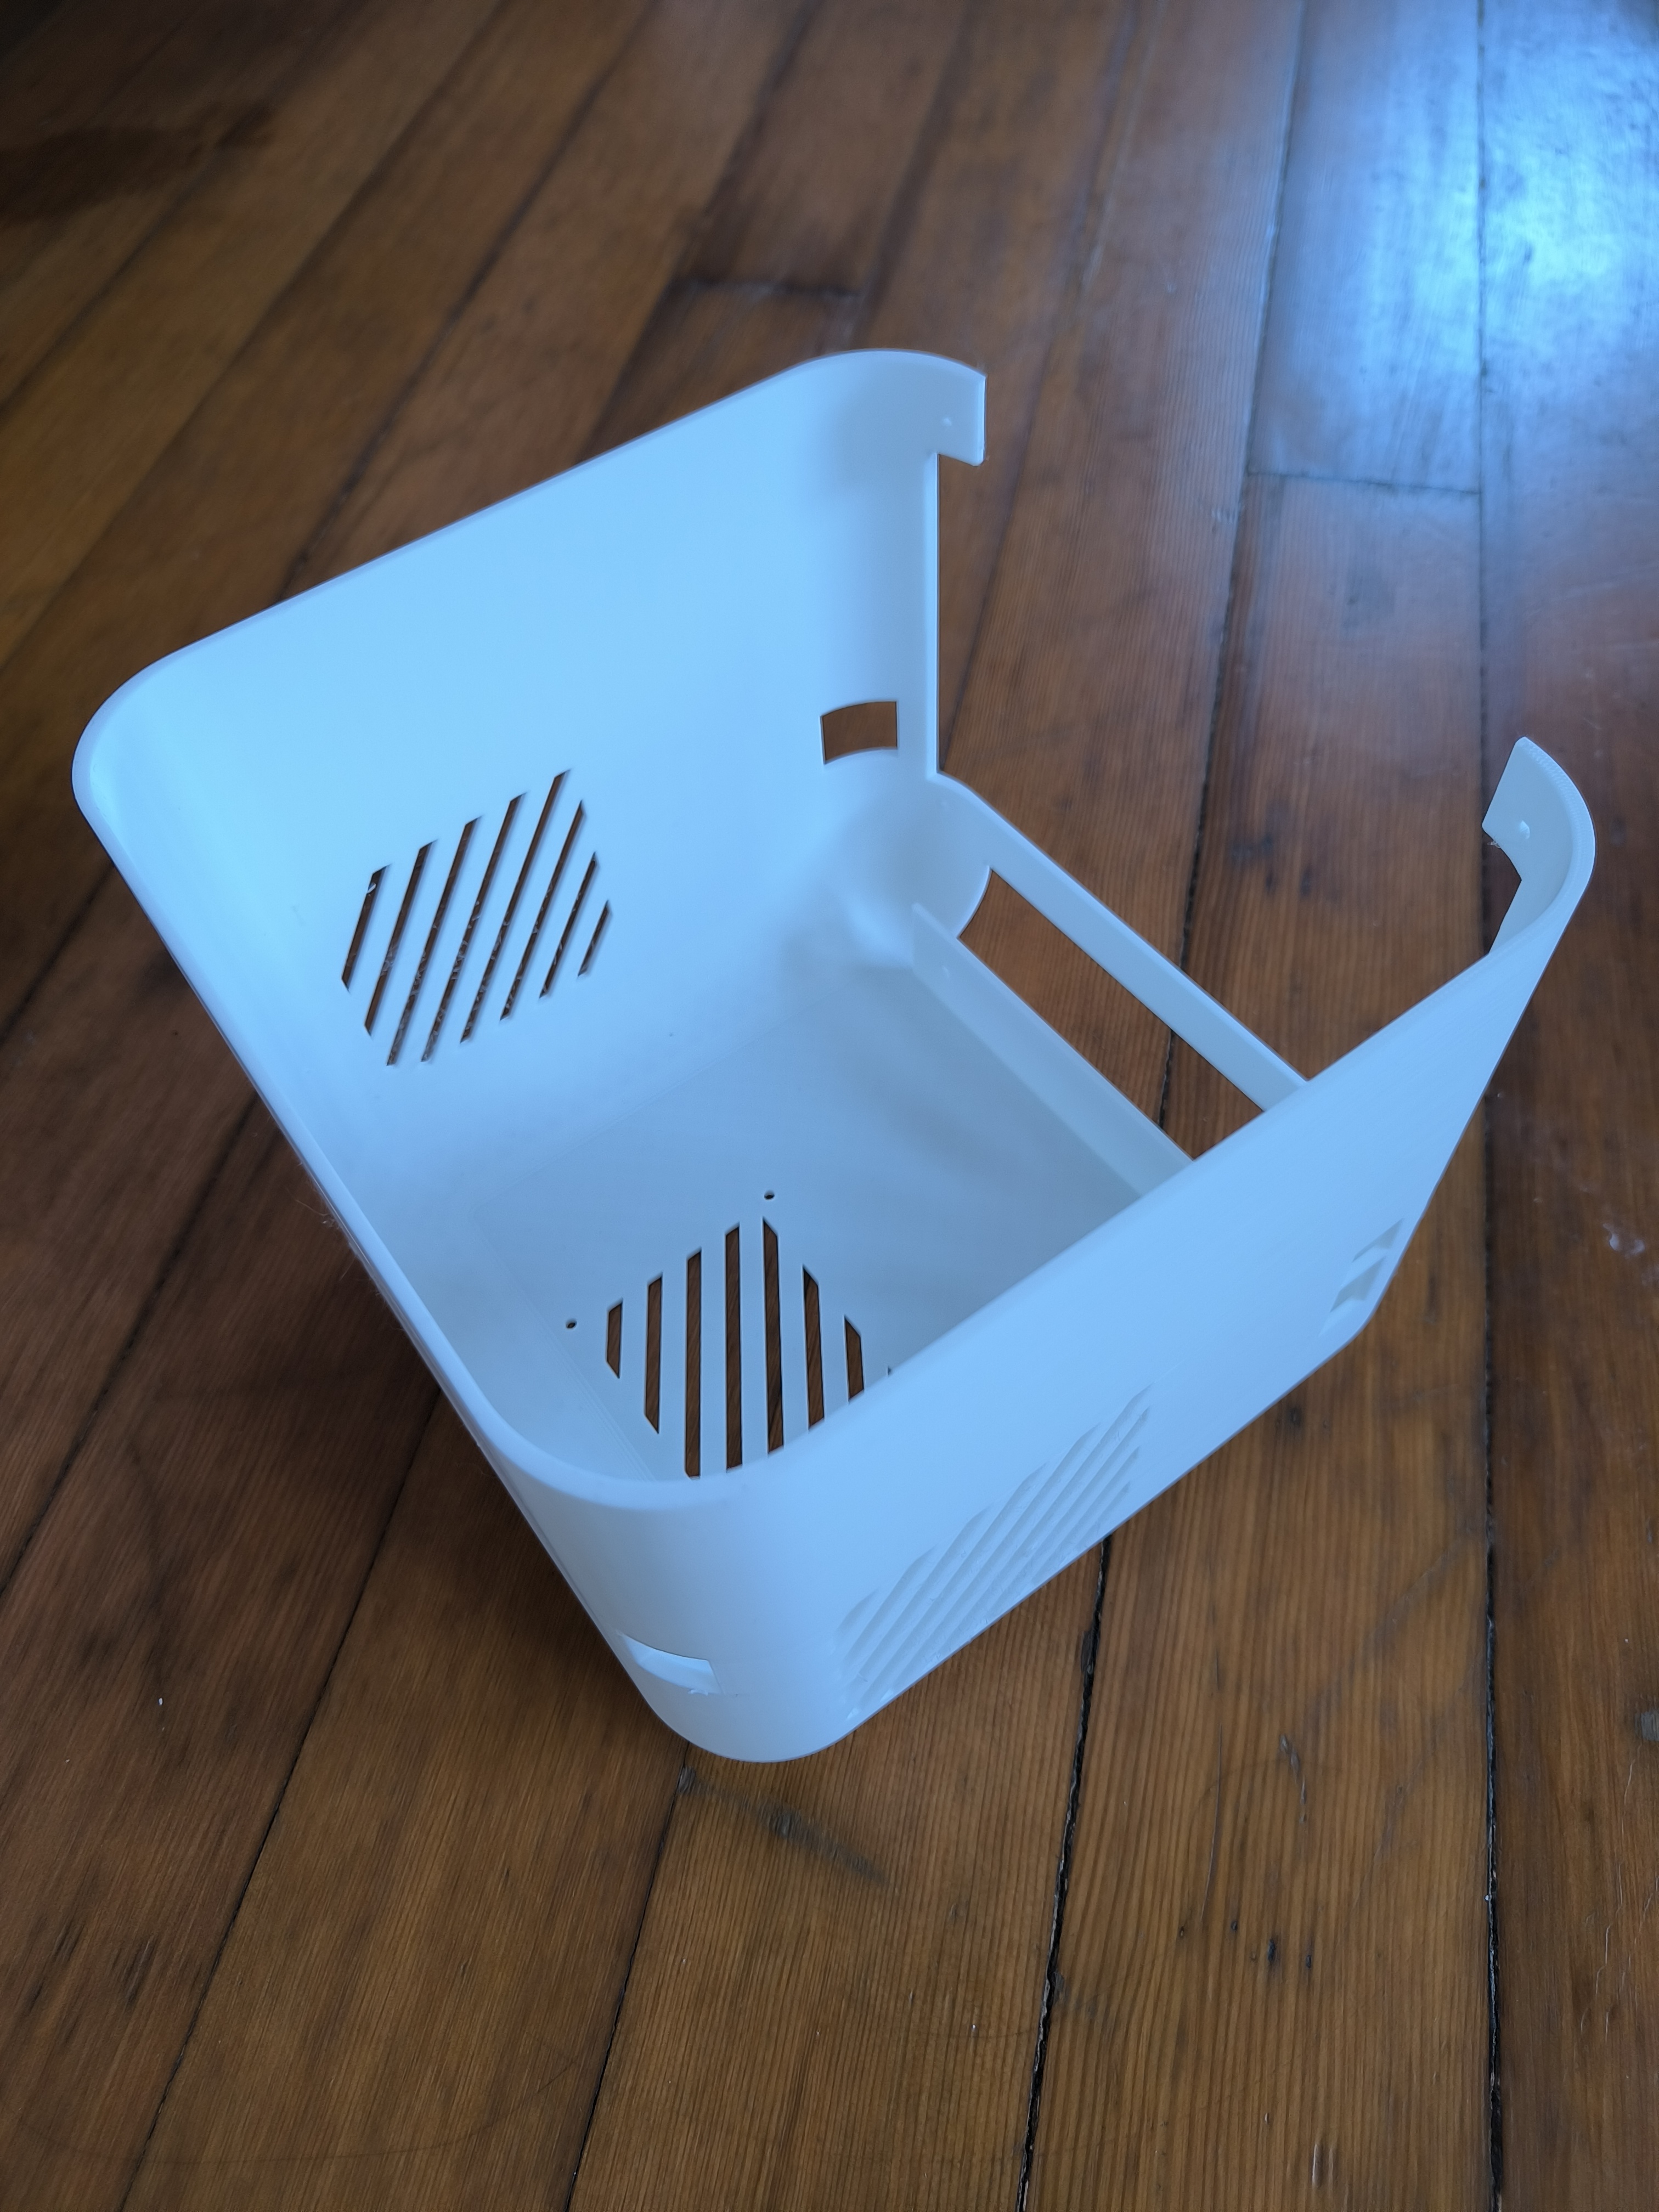
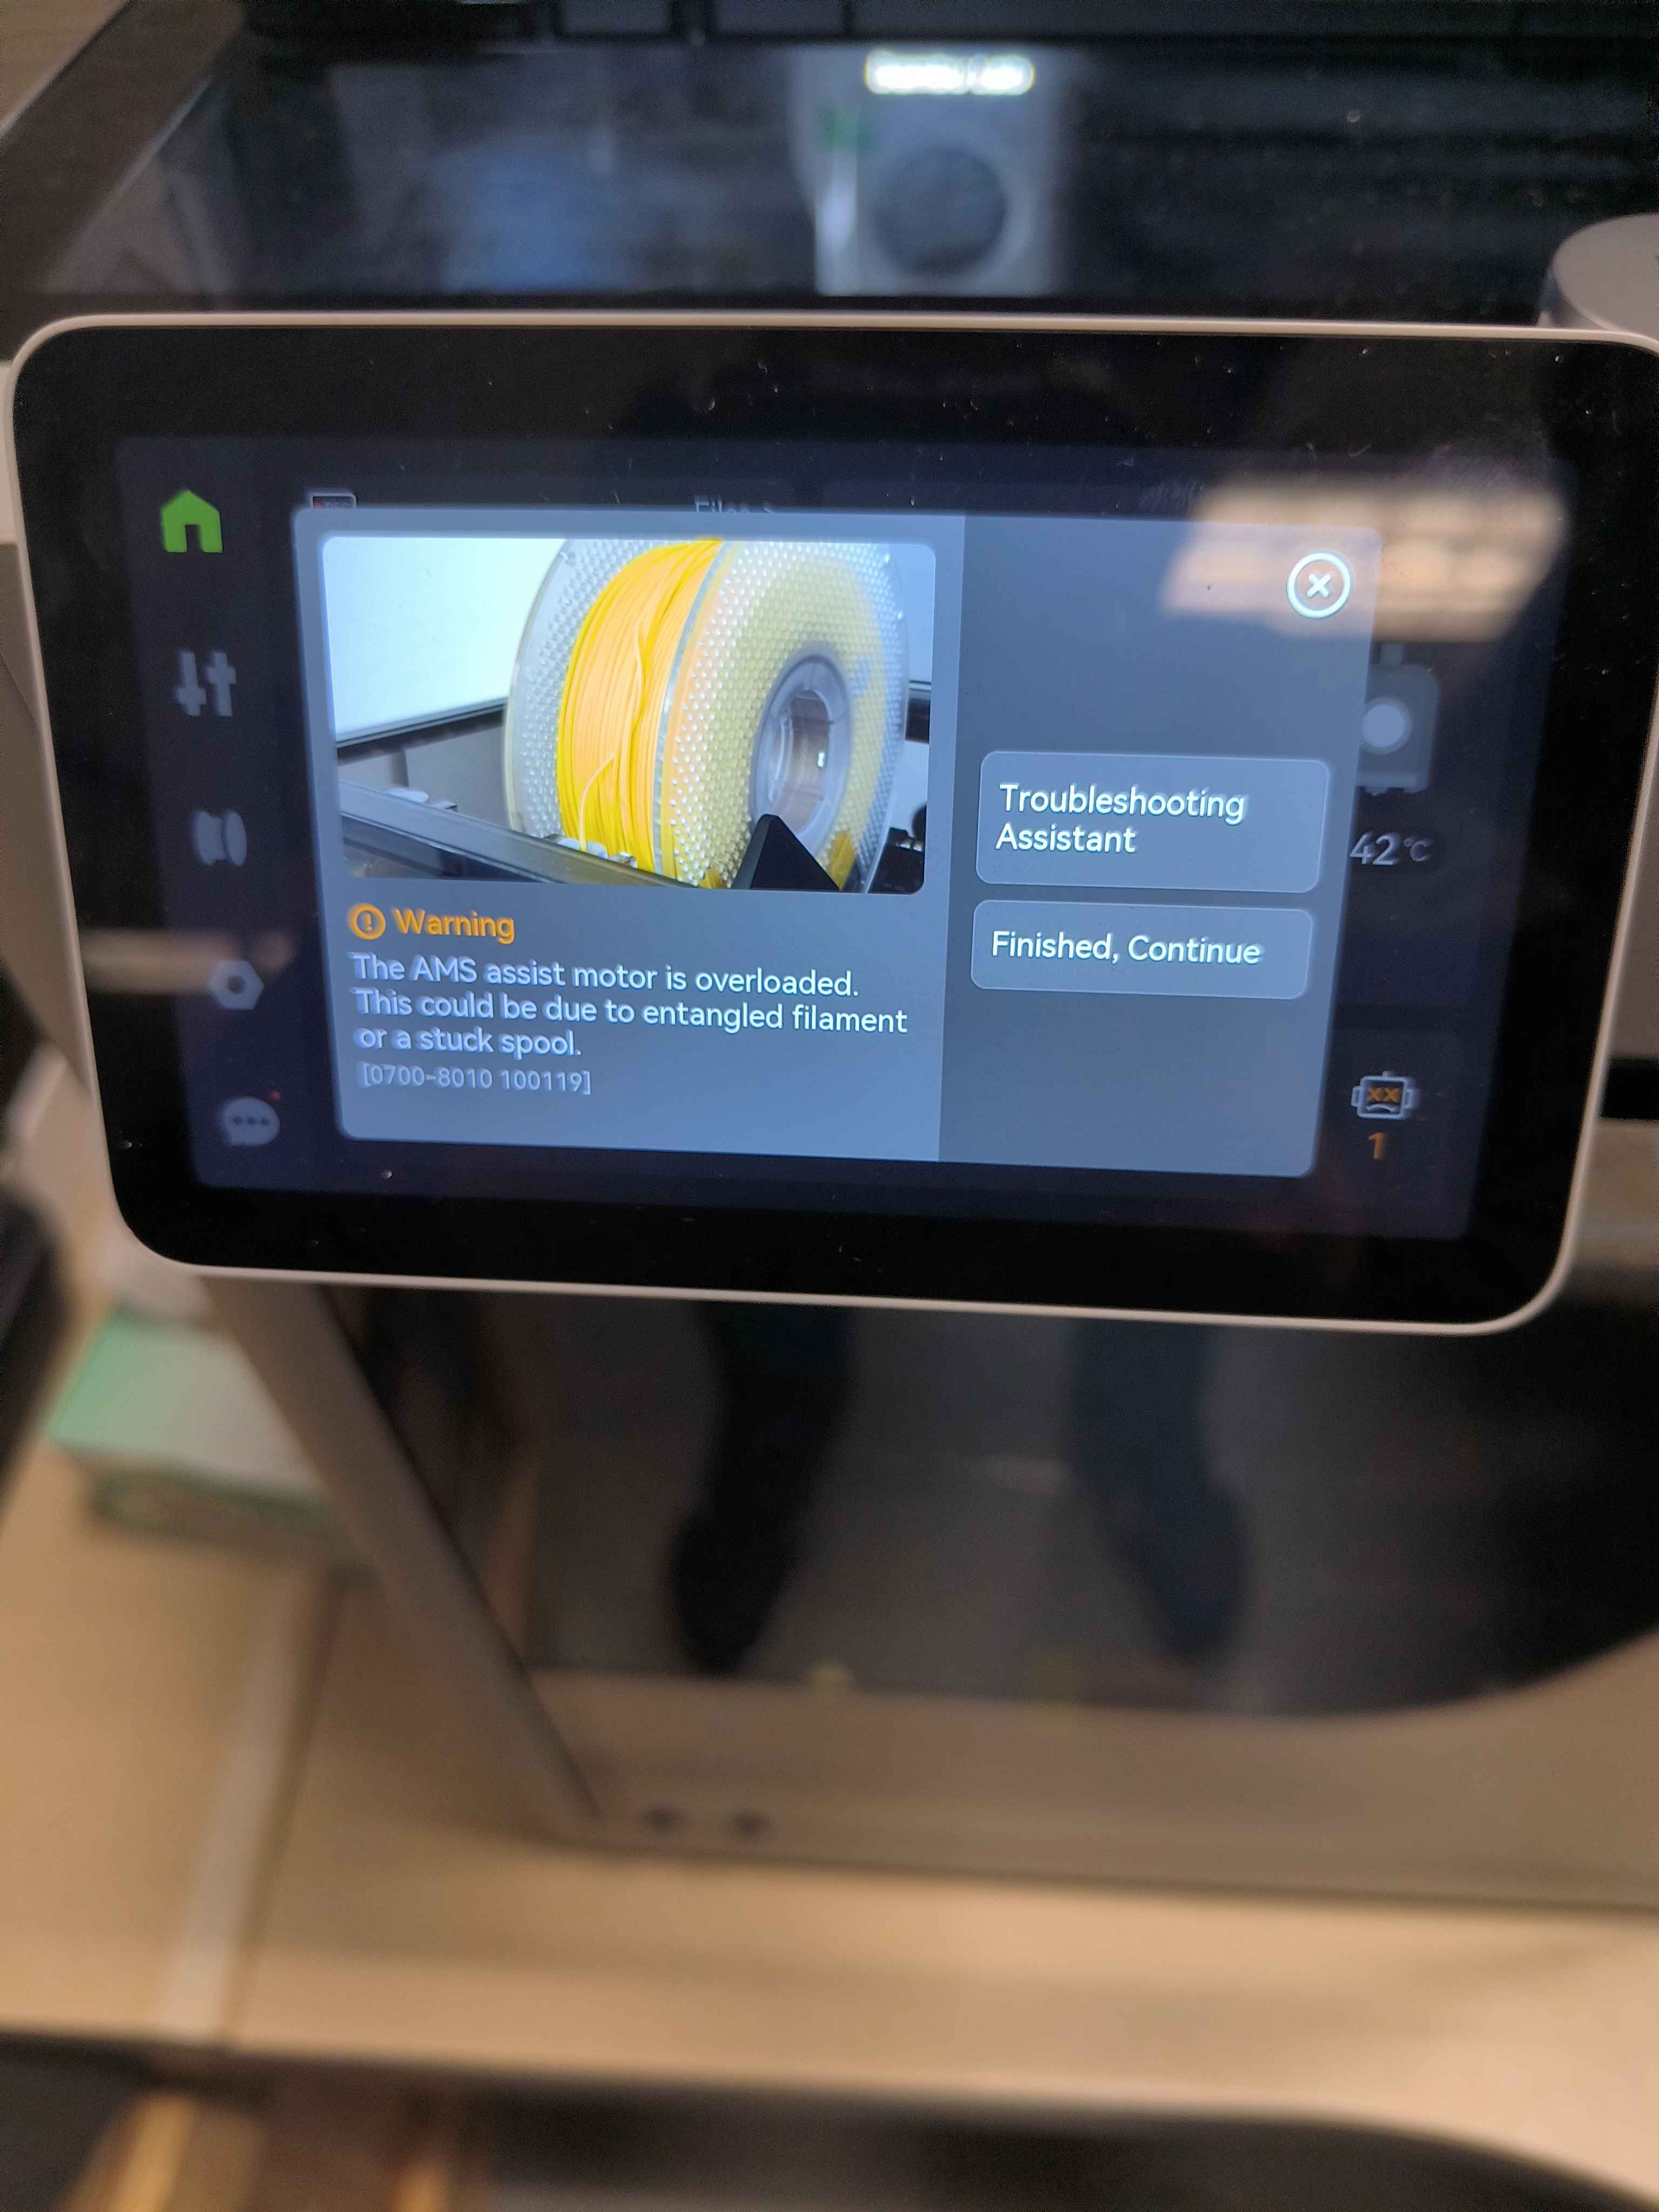
Sometimes, prints fail halfway through due to various reasons (e.g. tangled filament, layer shifting, etc). Here is one example of a failed print resulting from tangled filament:
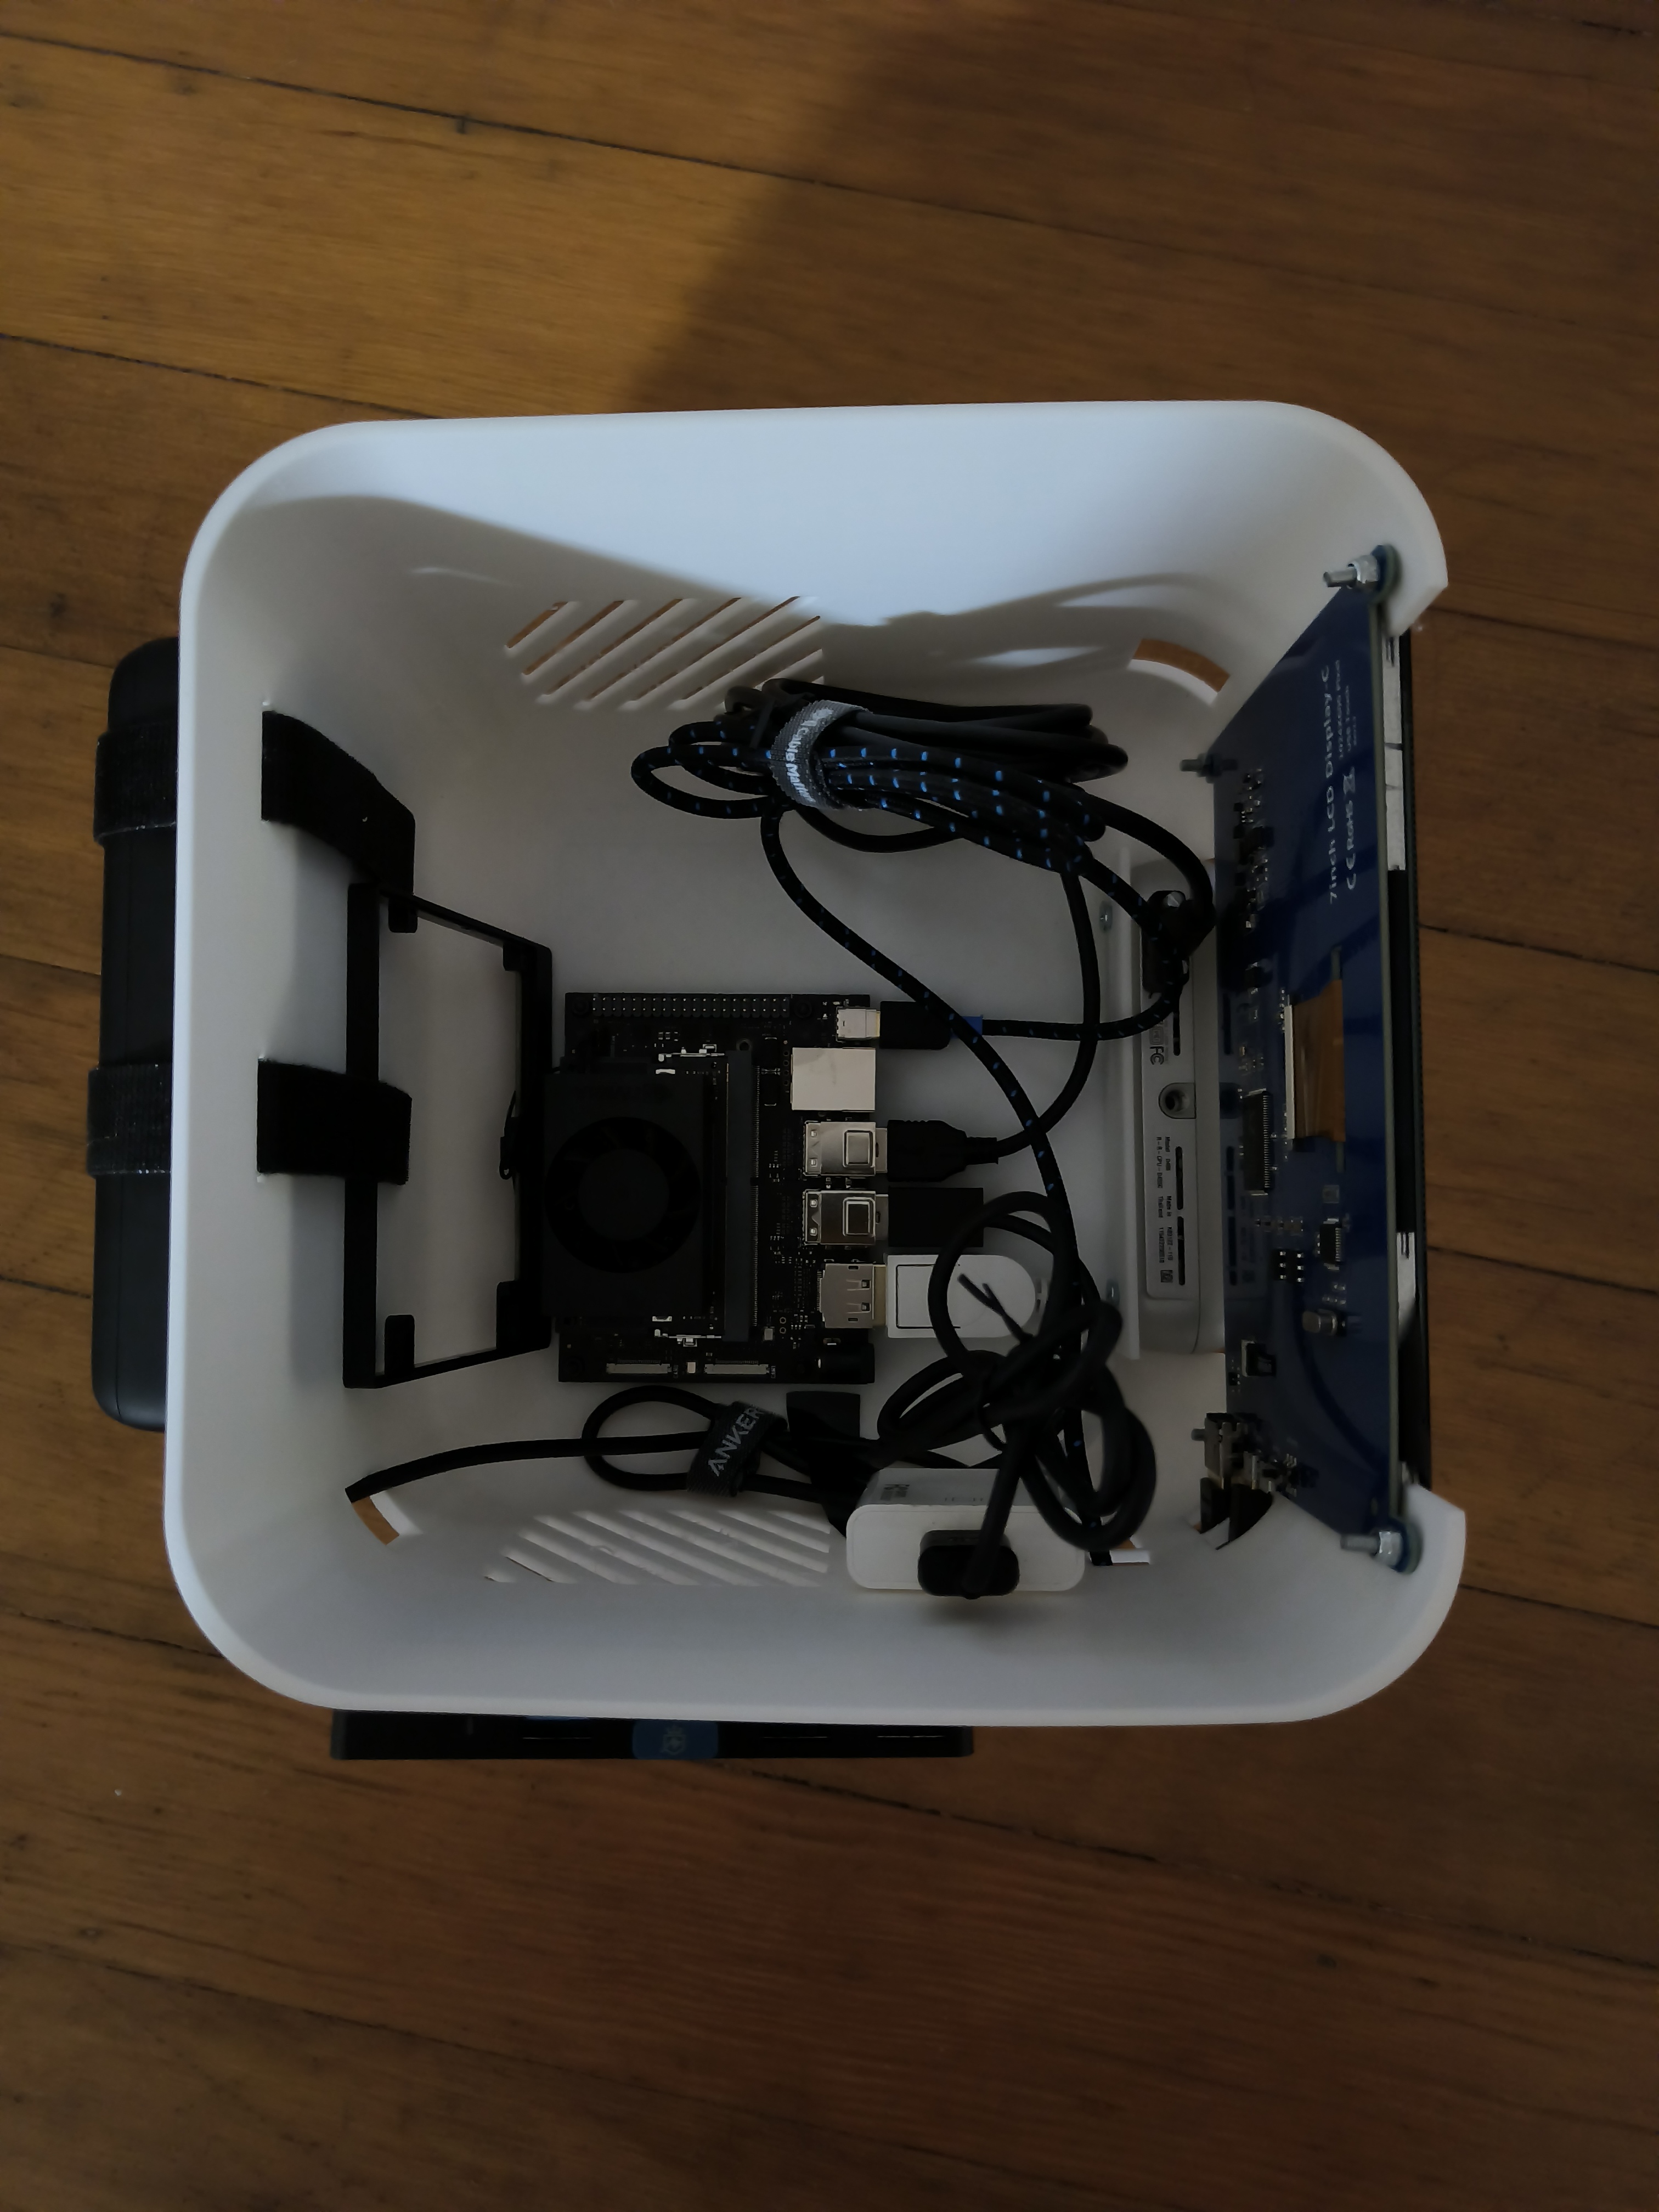
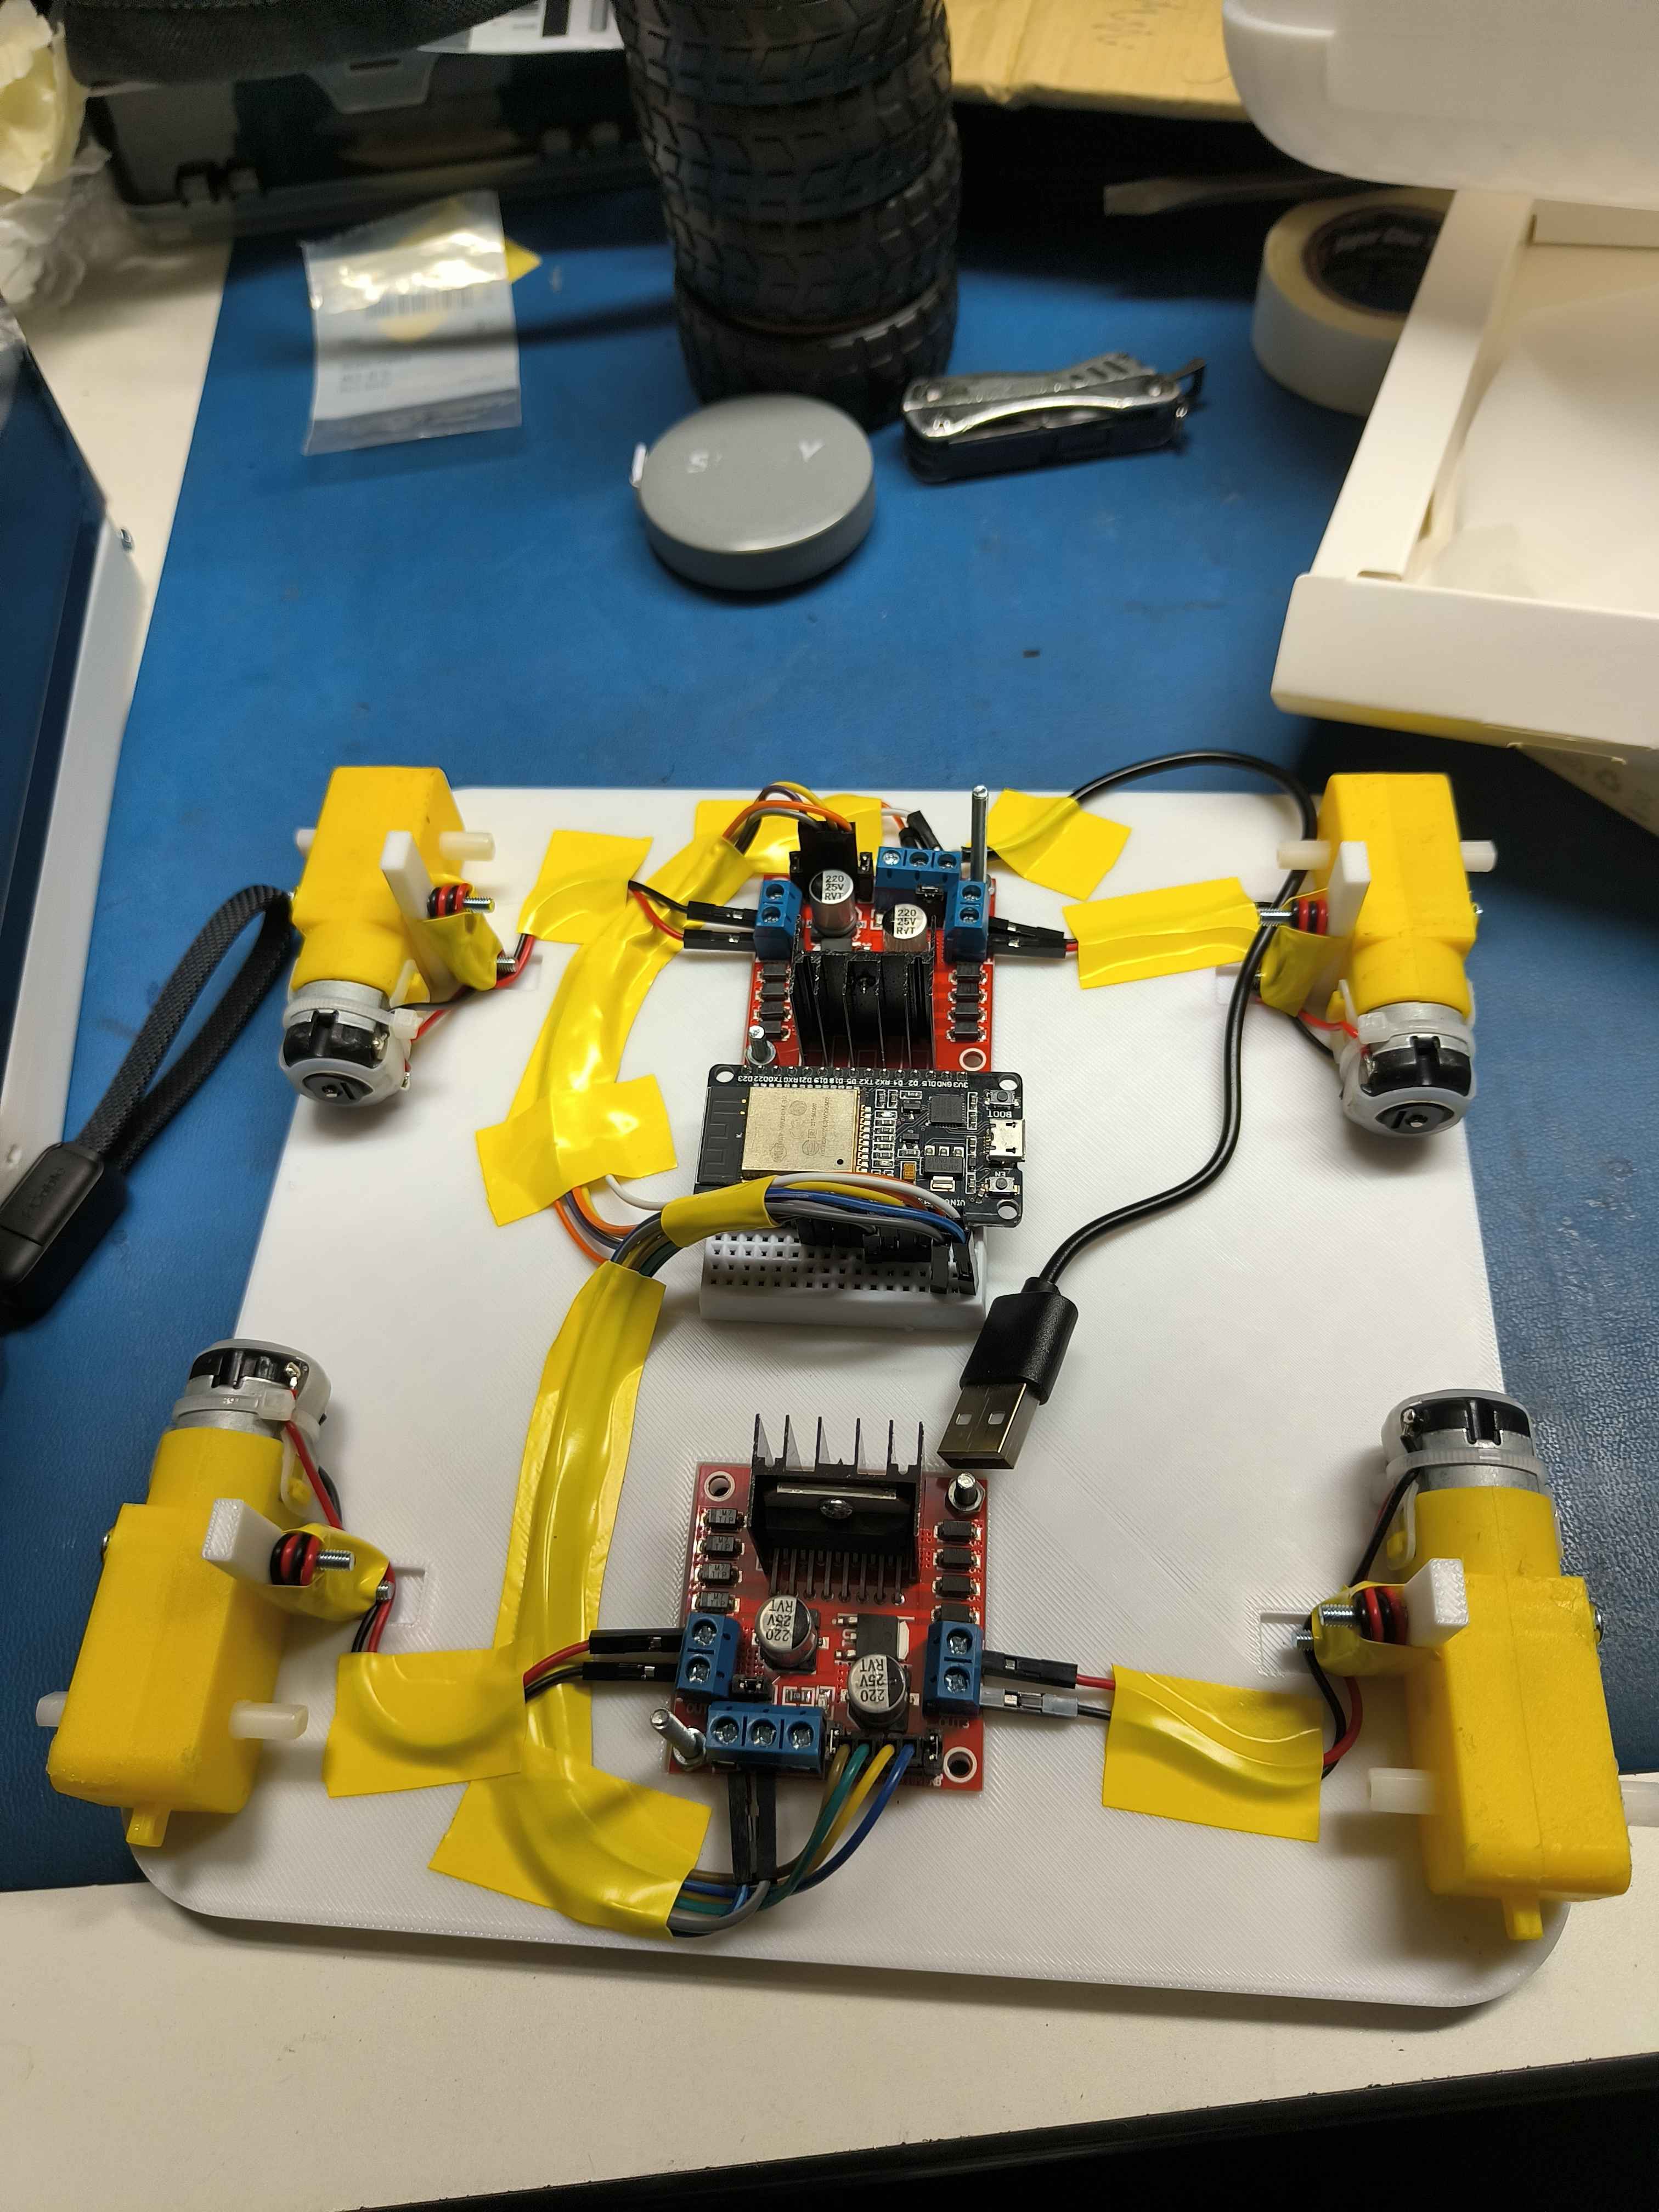
Hardware Installation
After printing the parts, I installed all the hardware components onto the new chassis.
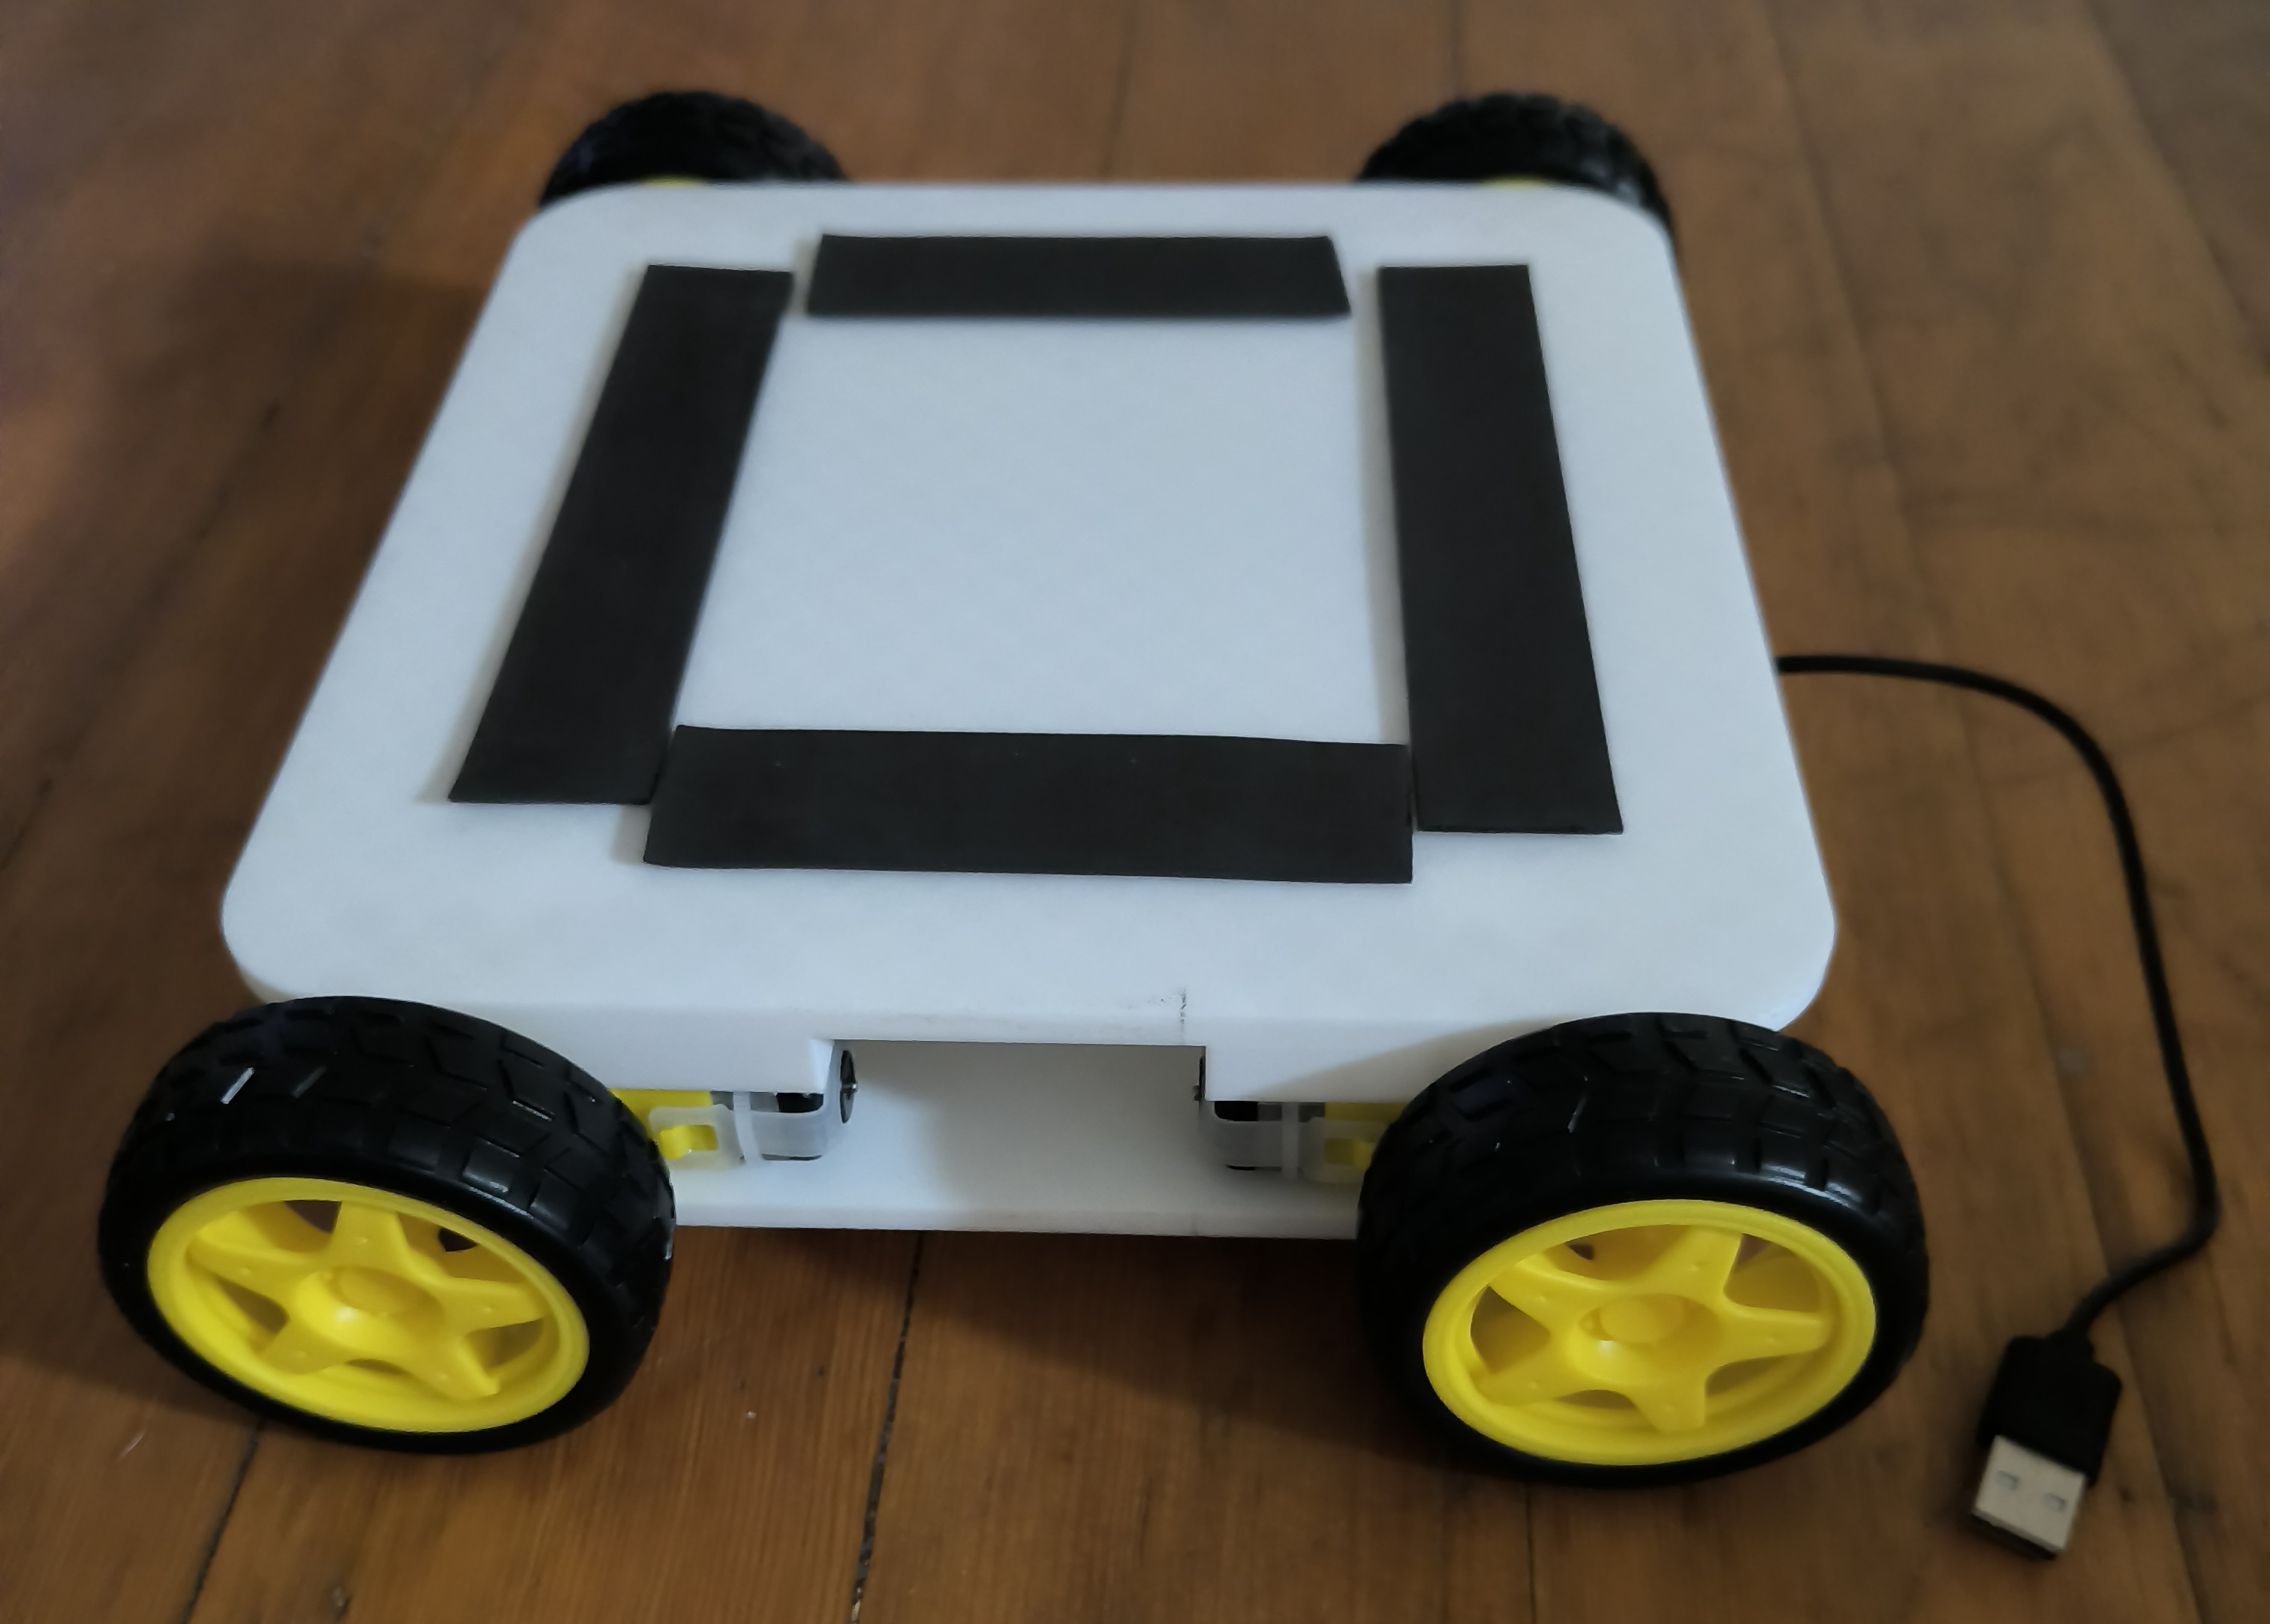
Part Assembly
Finally, I assembled the printed parts along with all the hardware components.
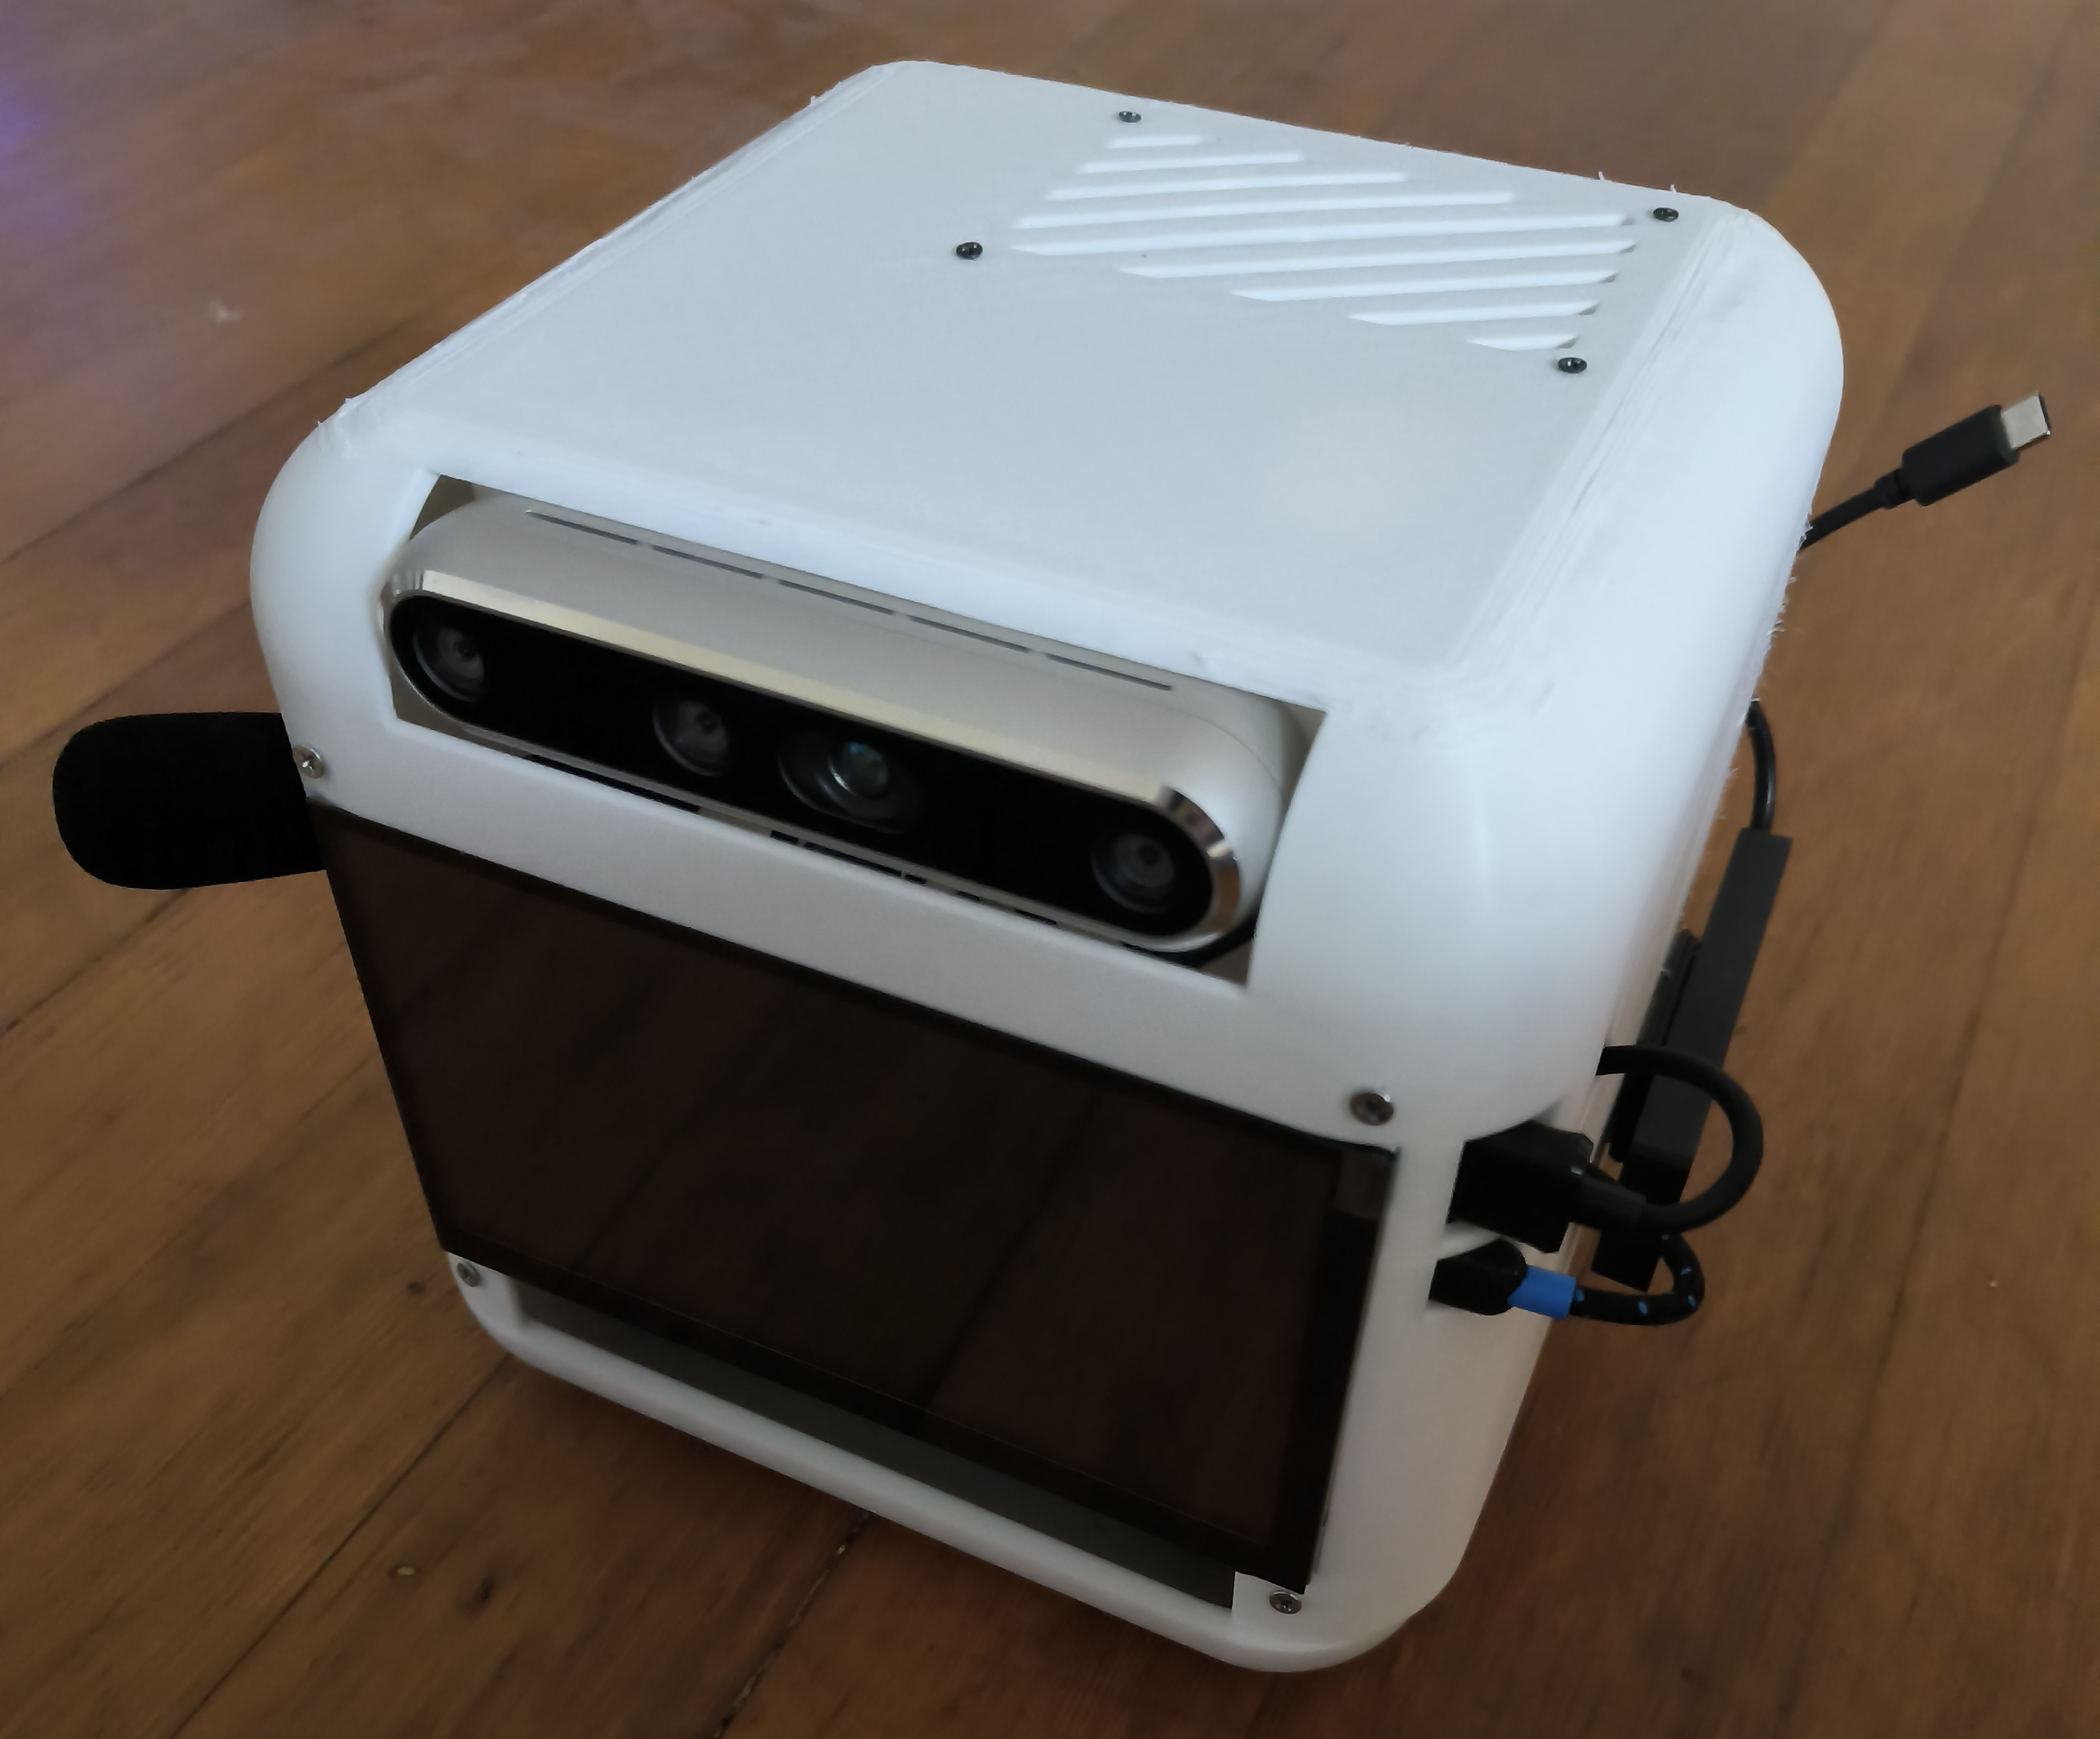
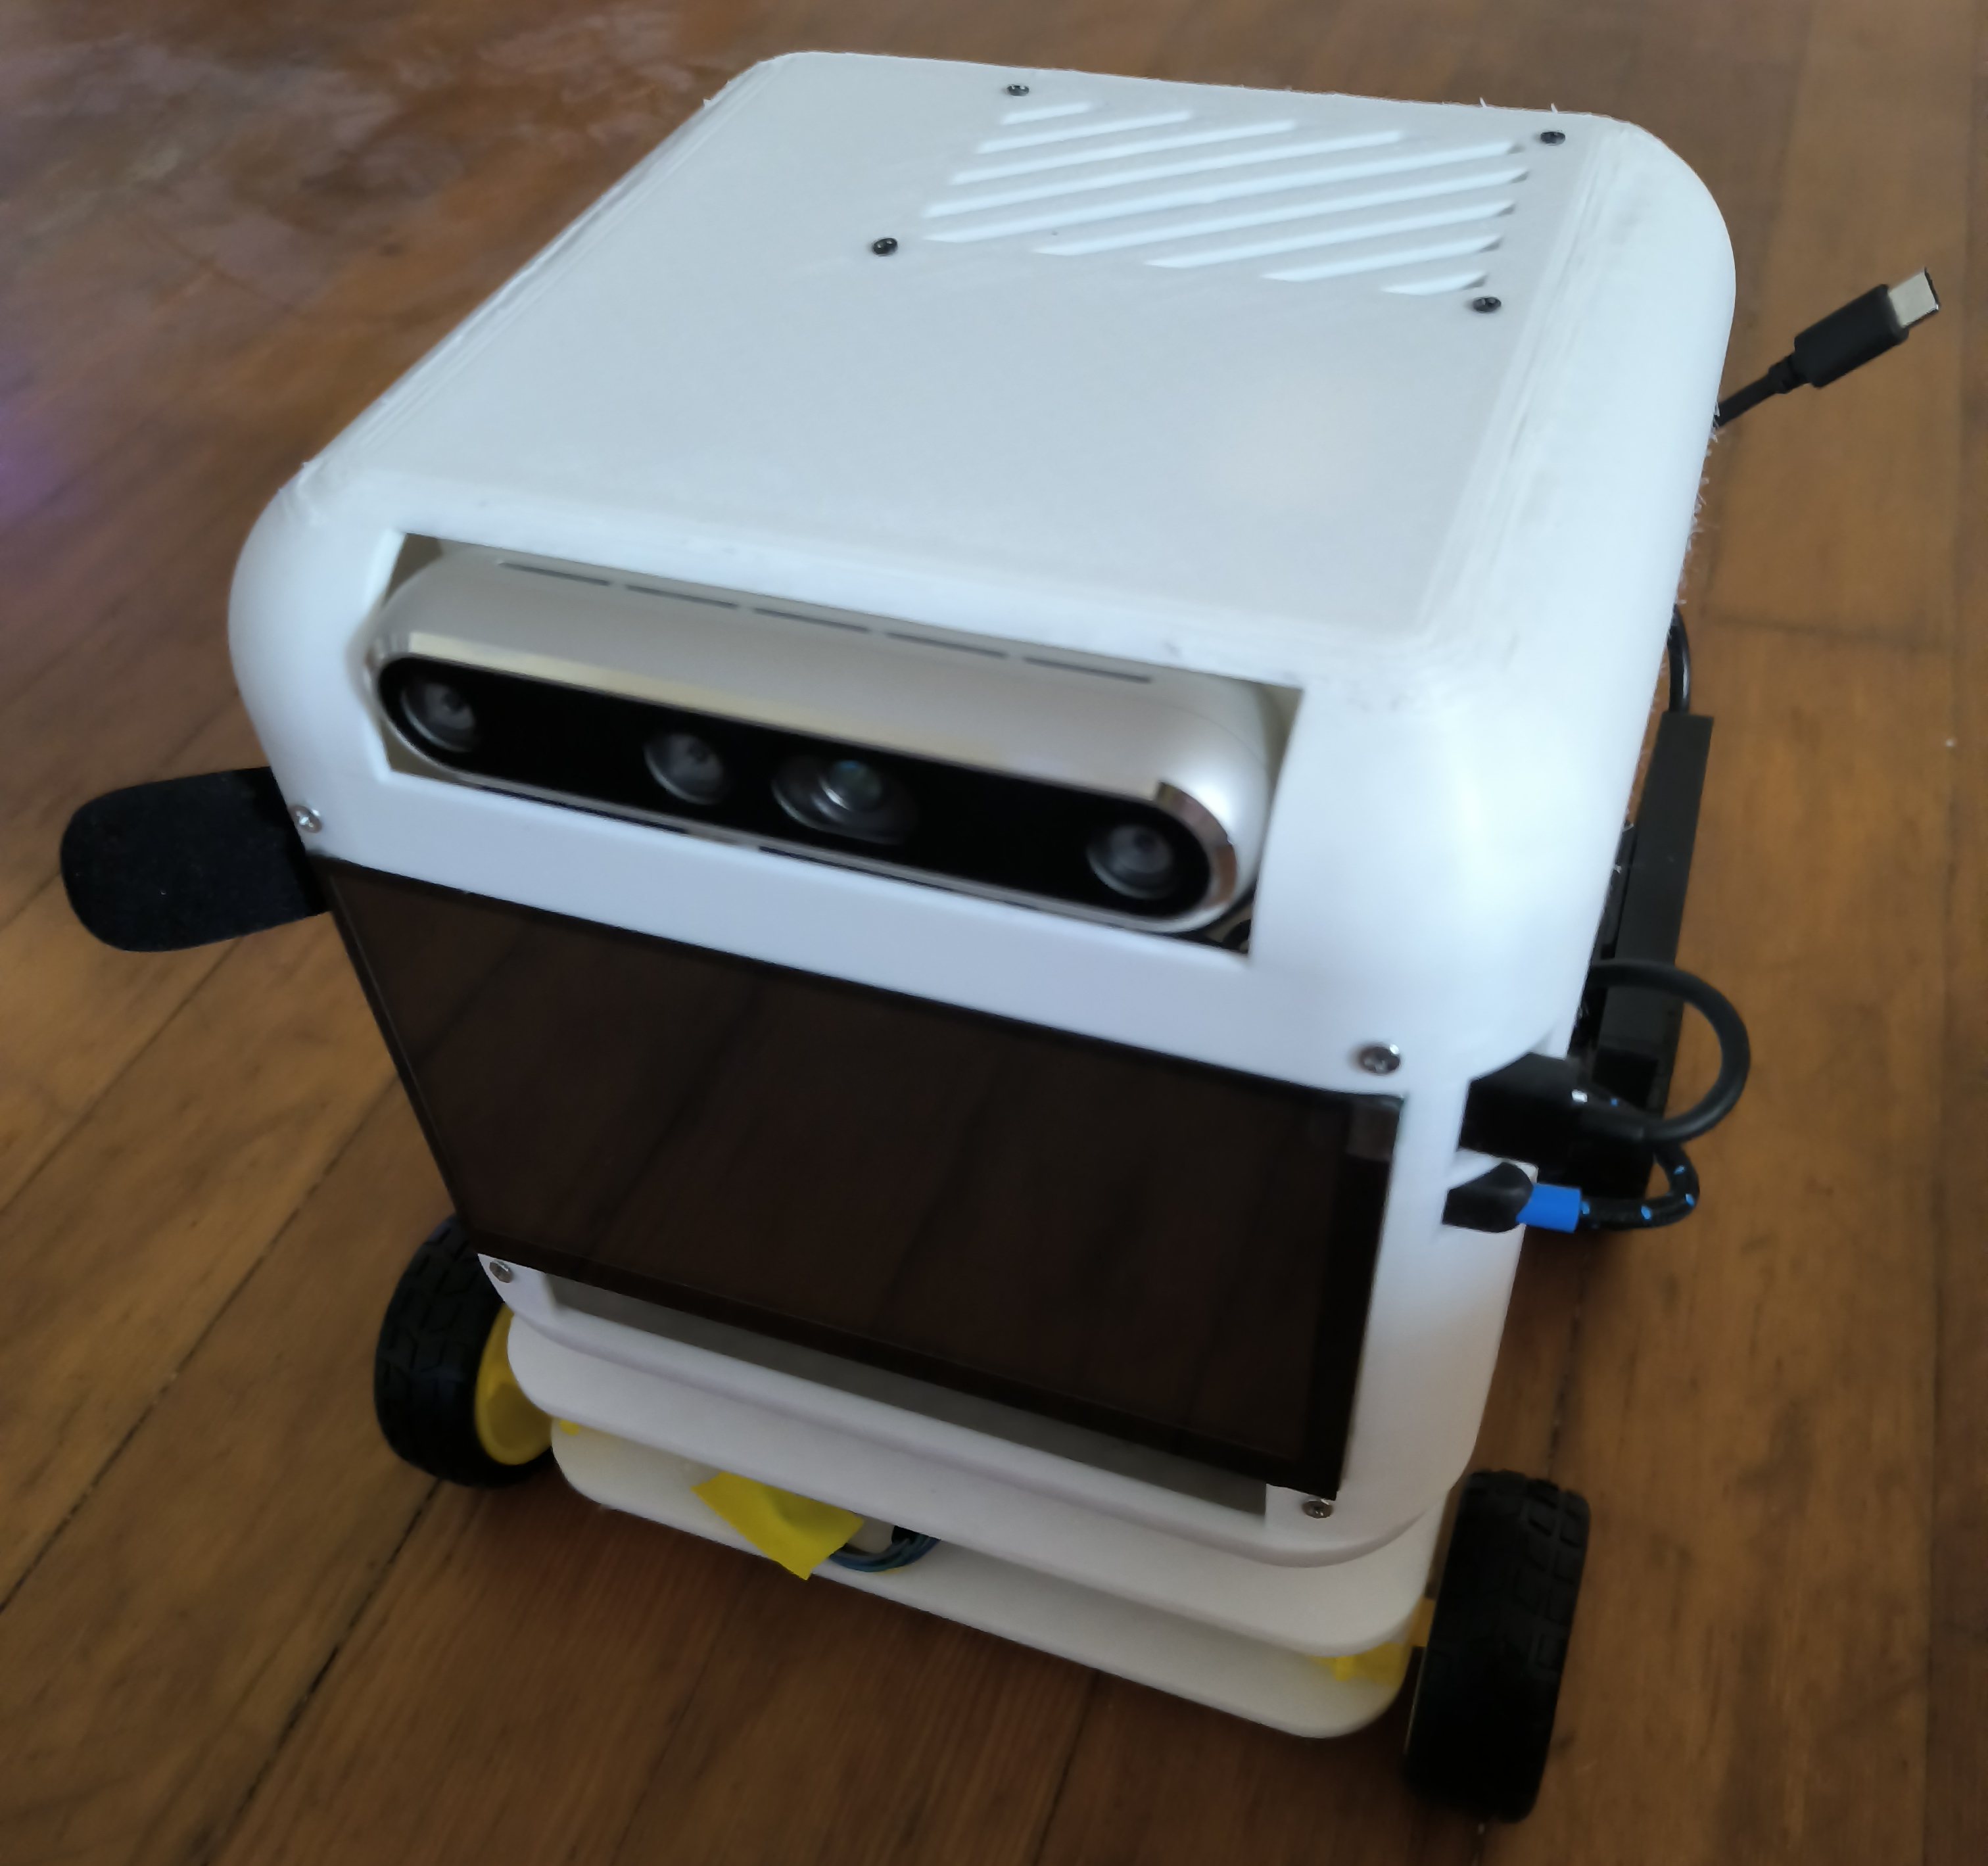
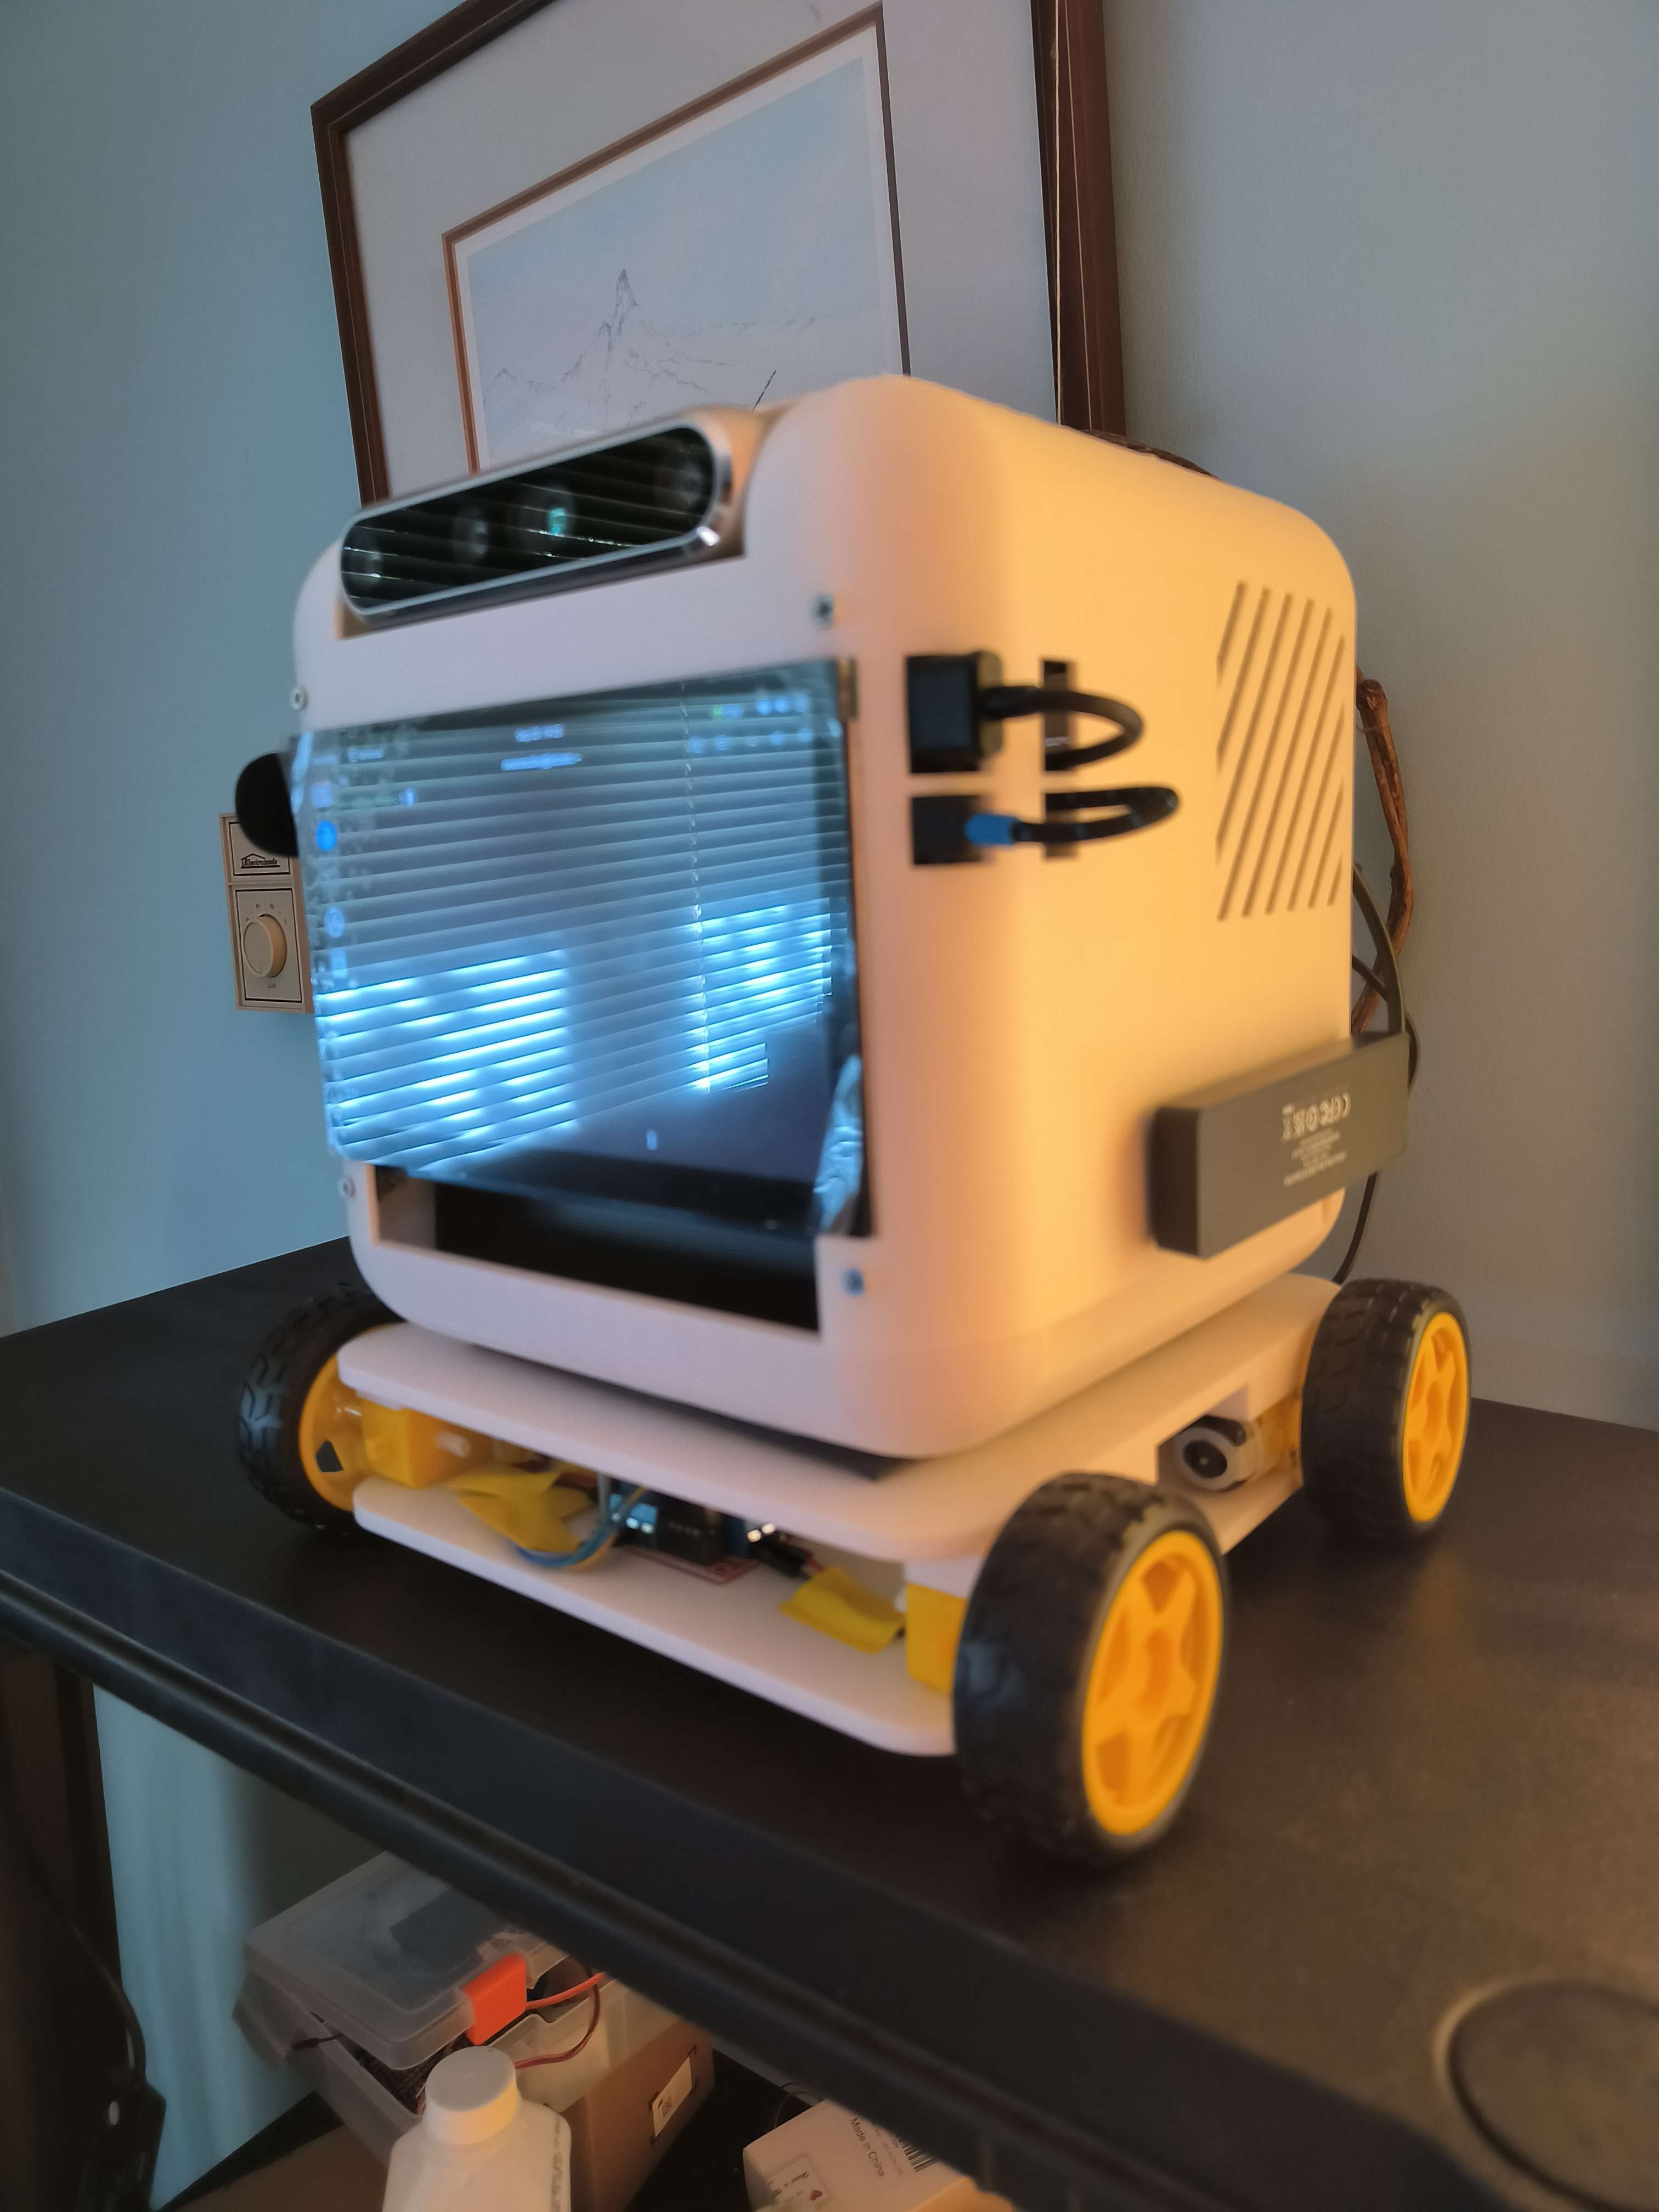
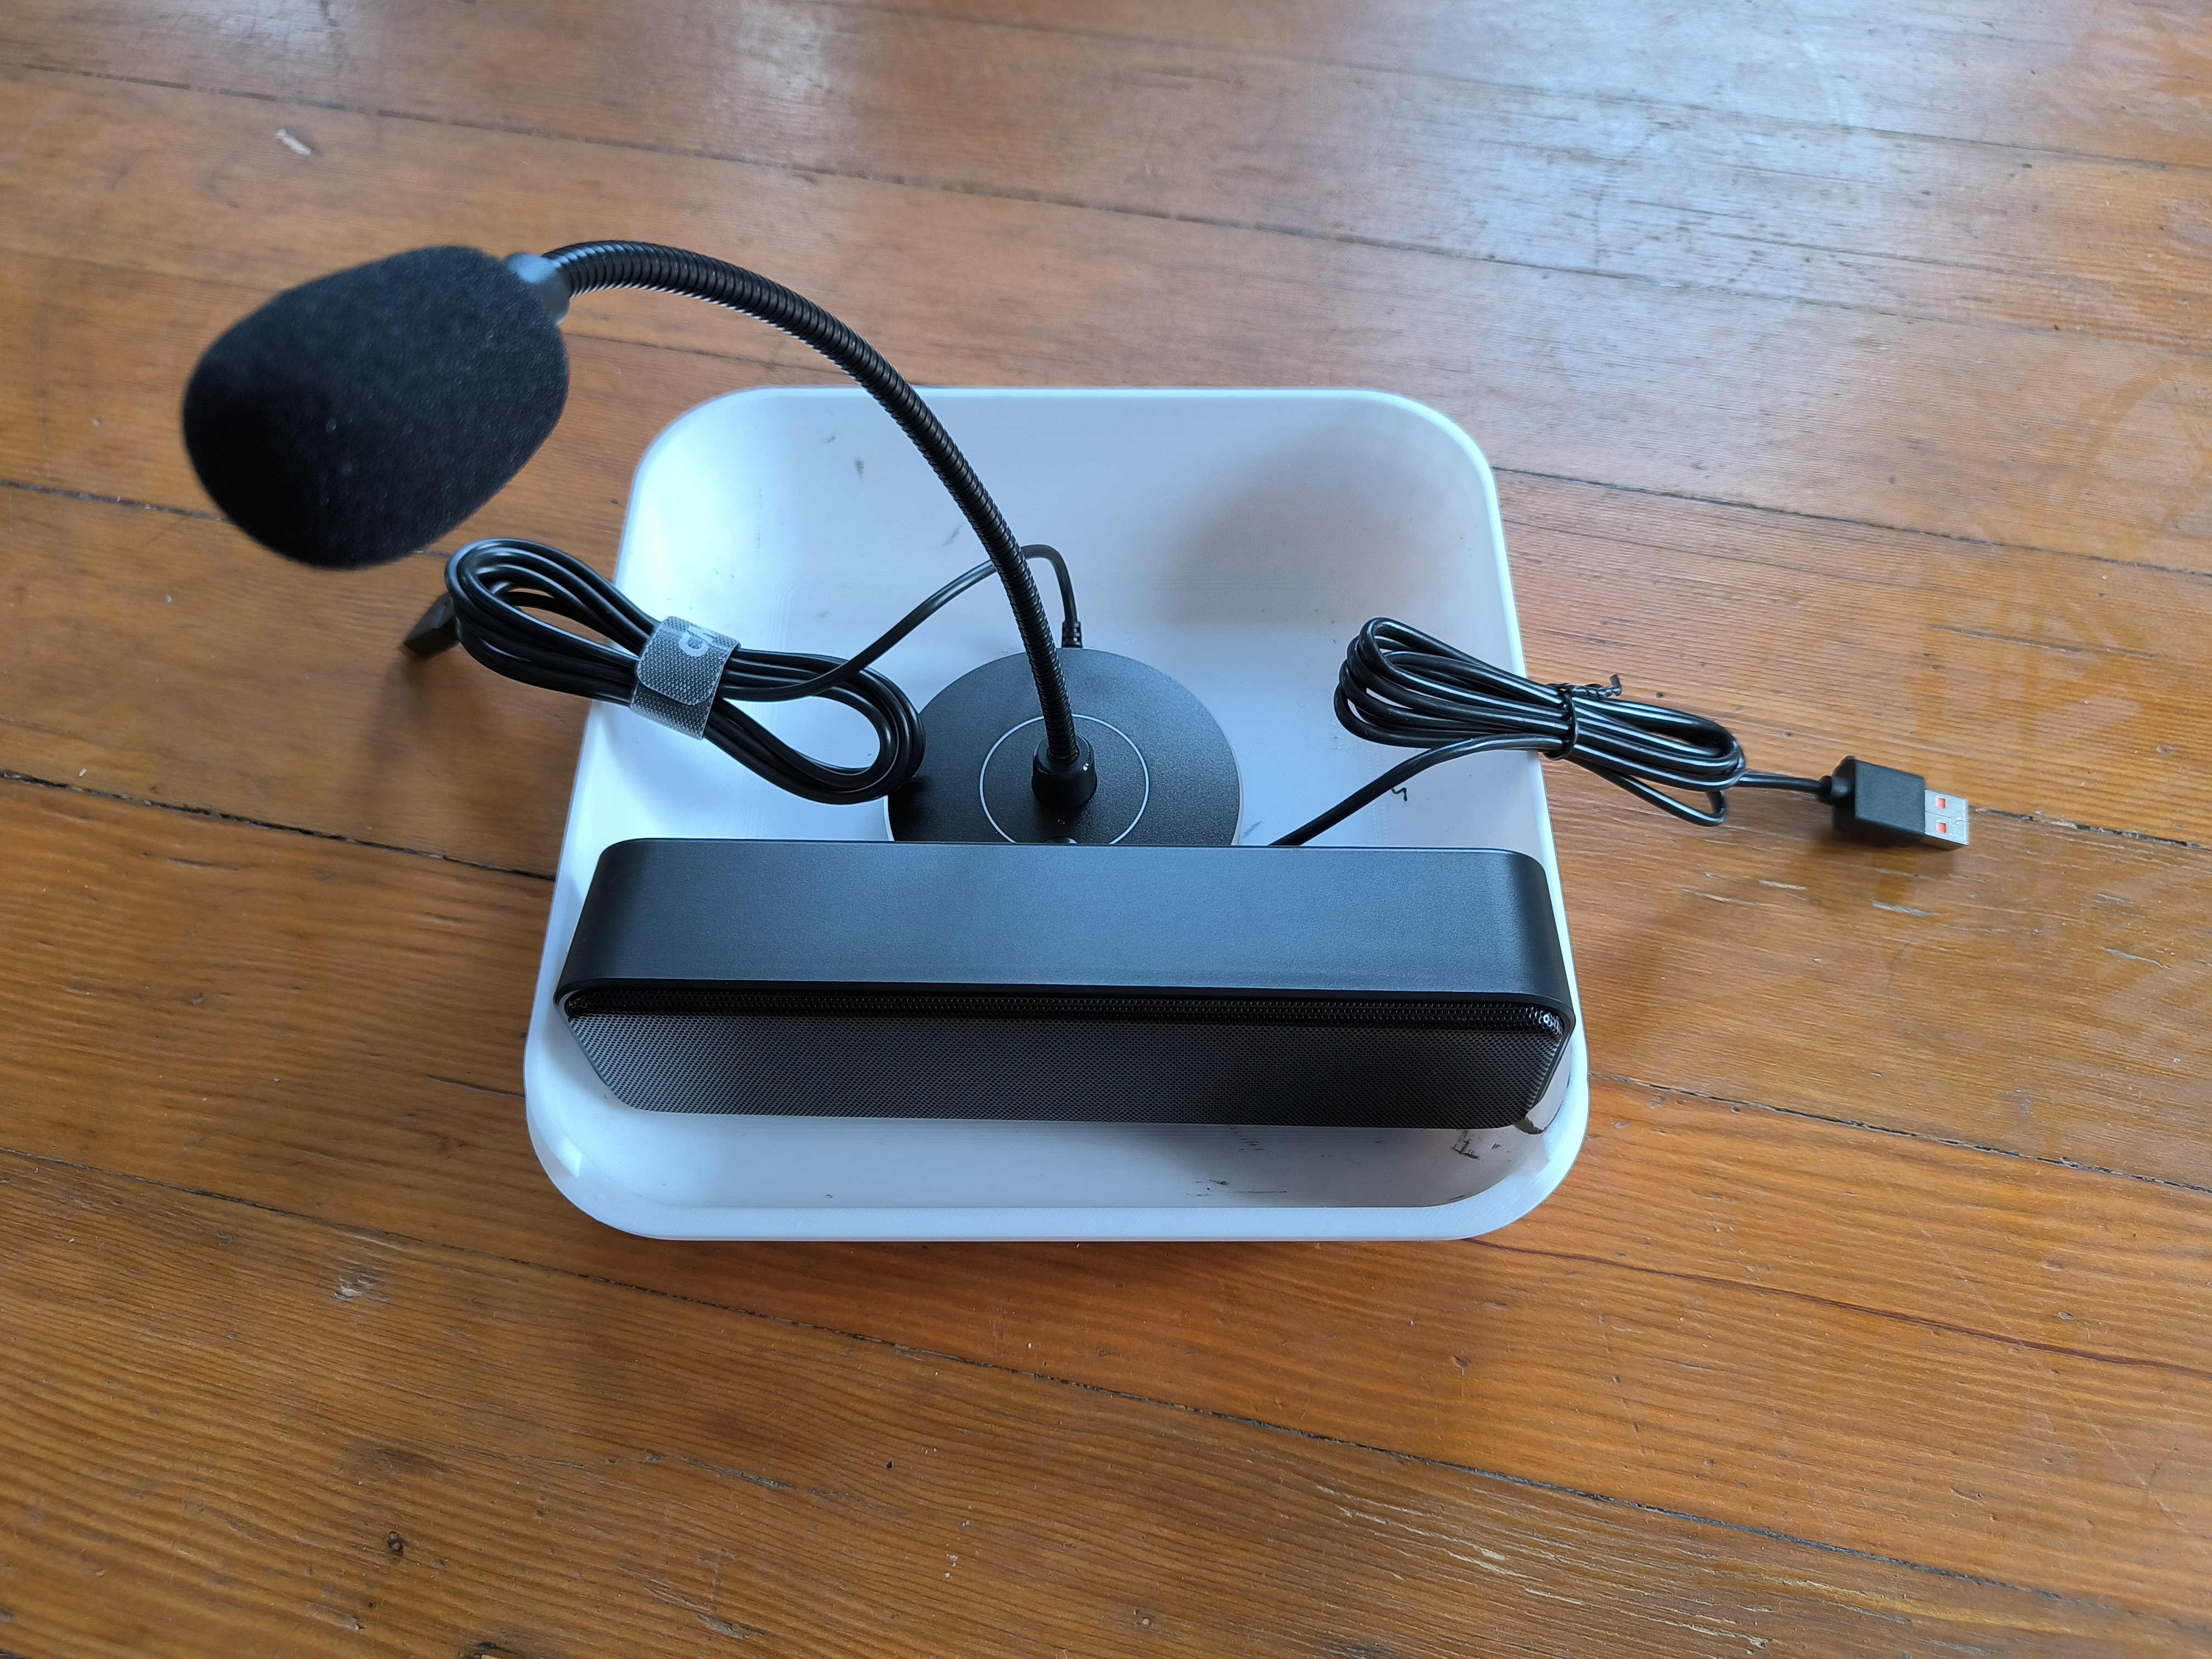
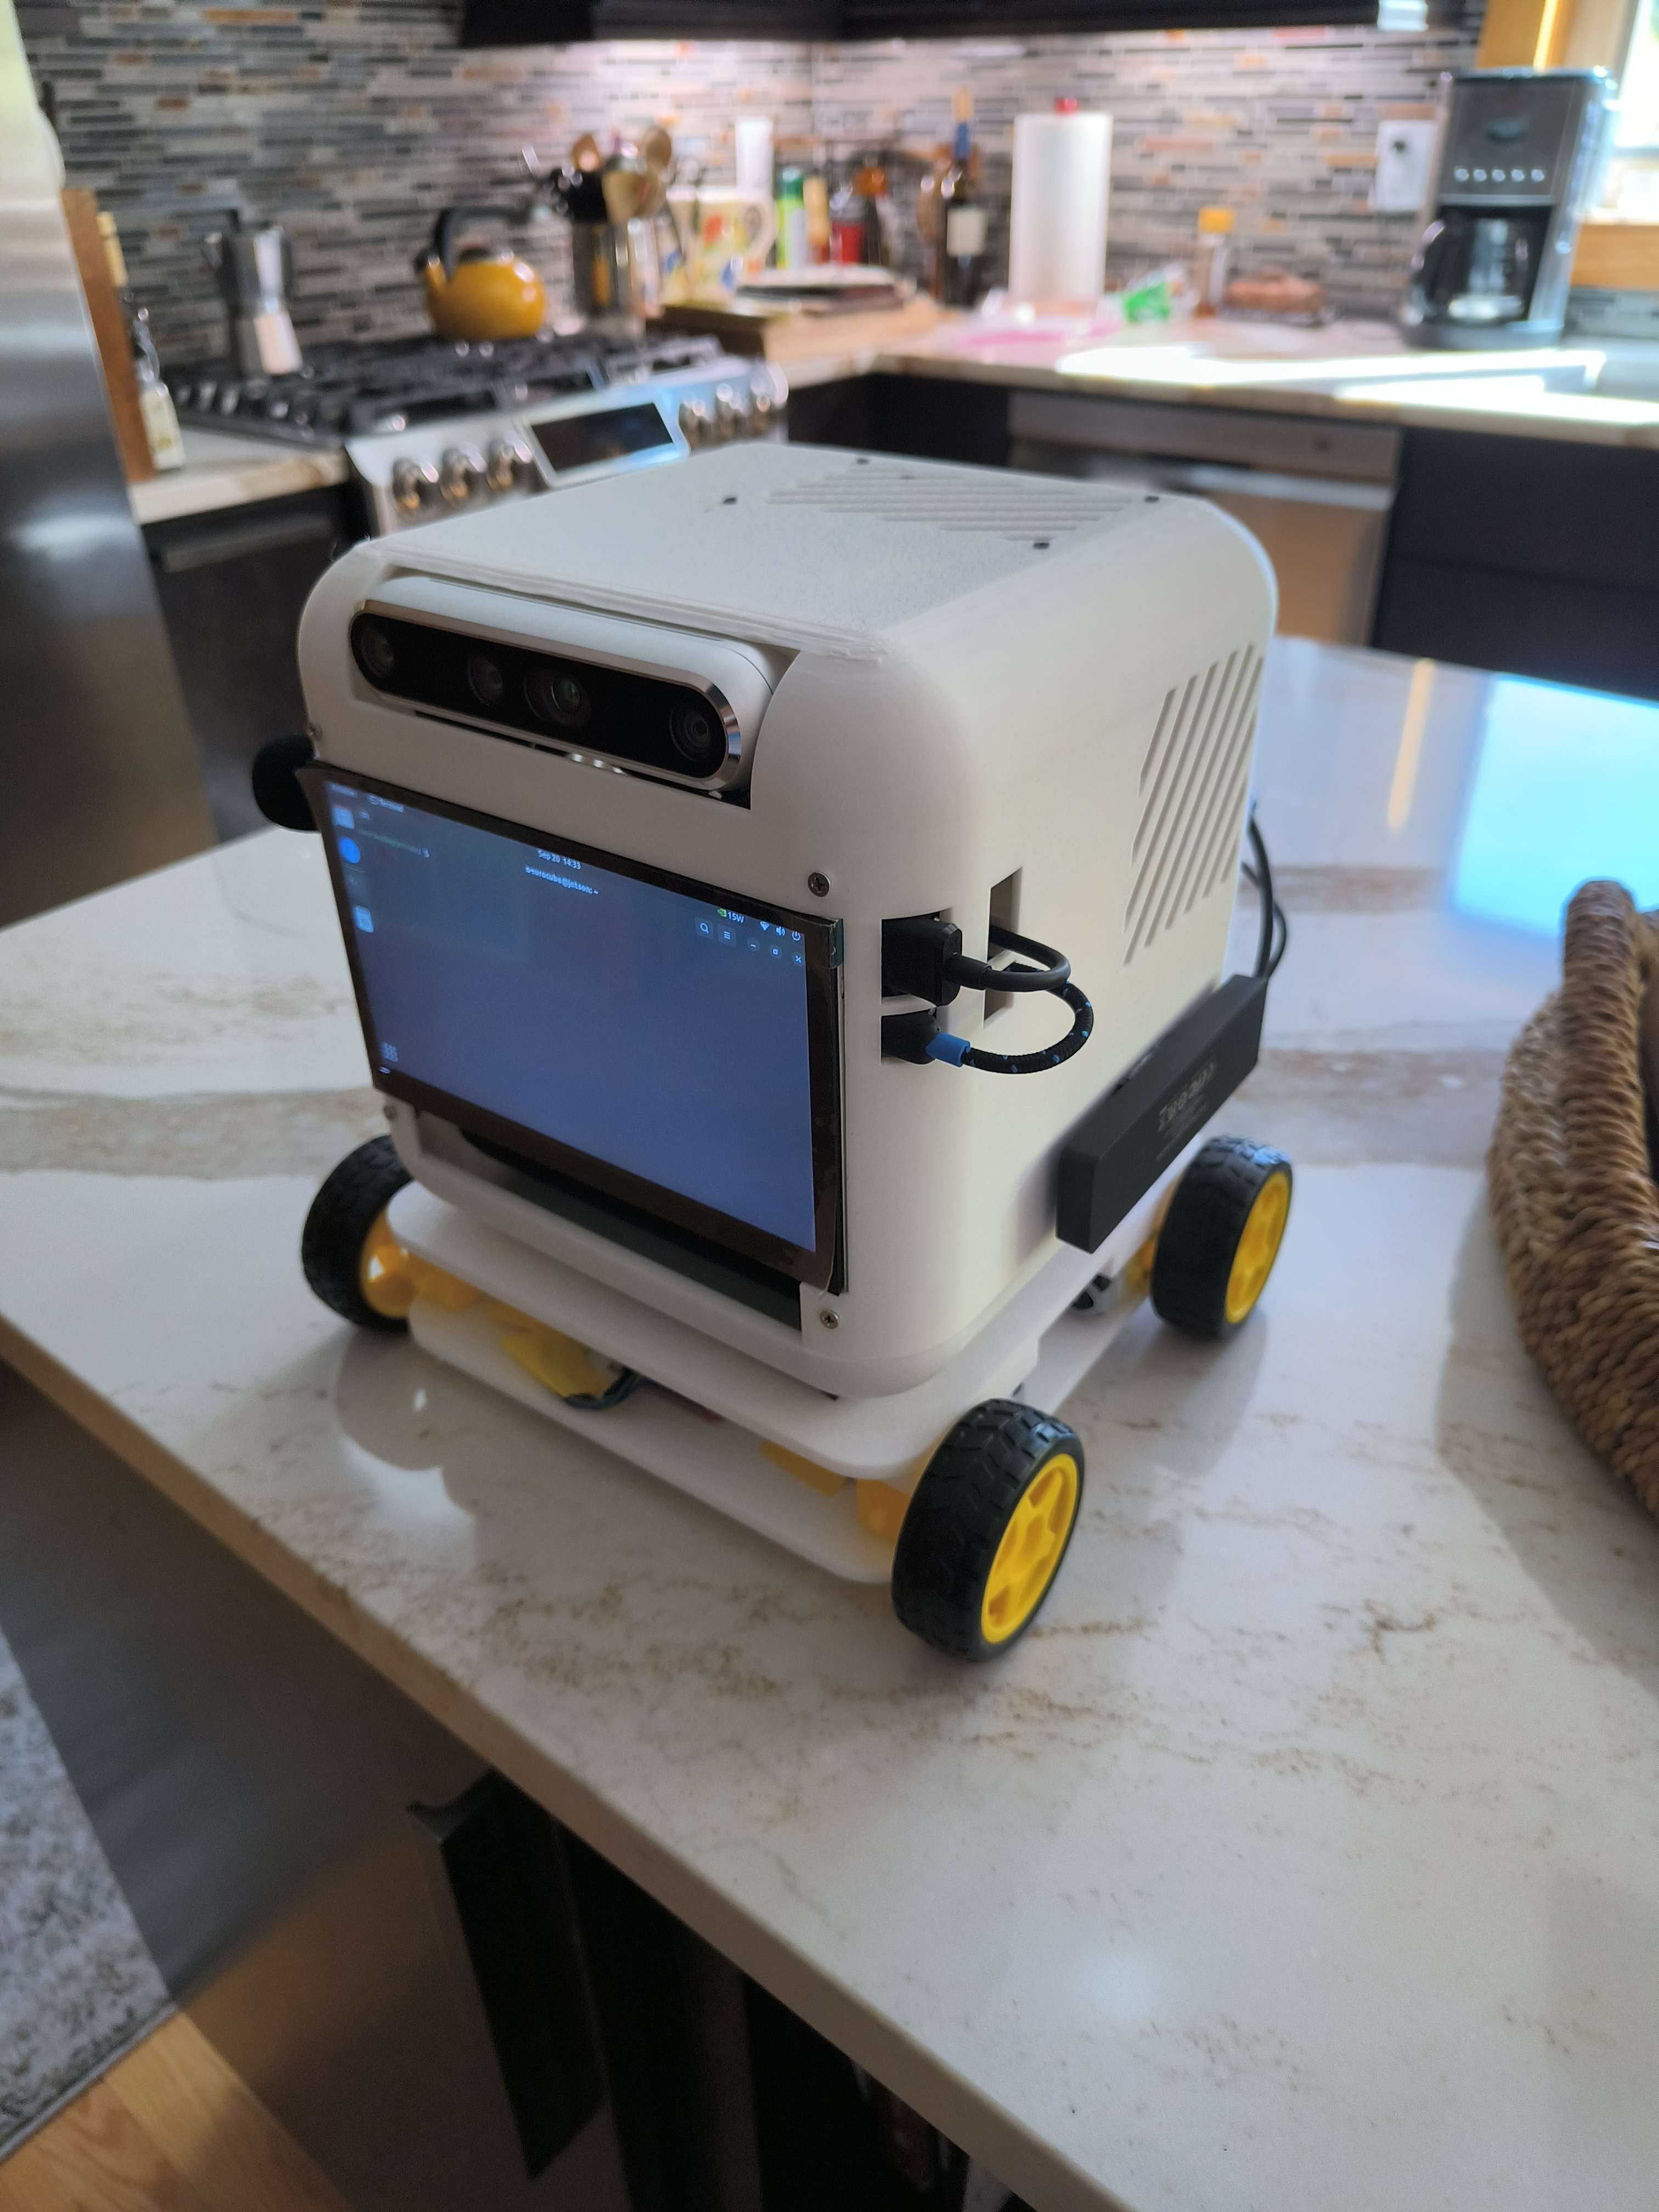
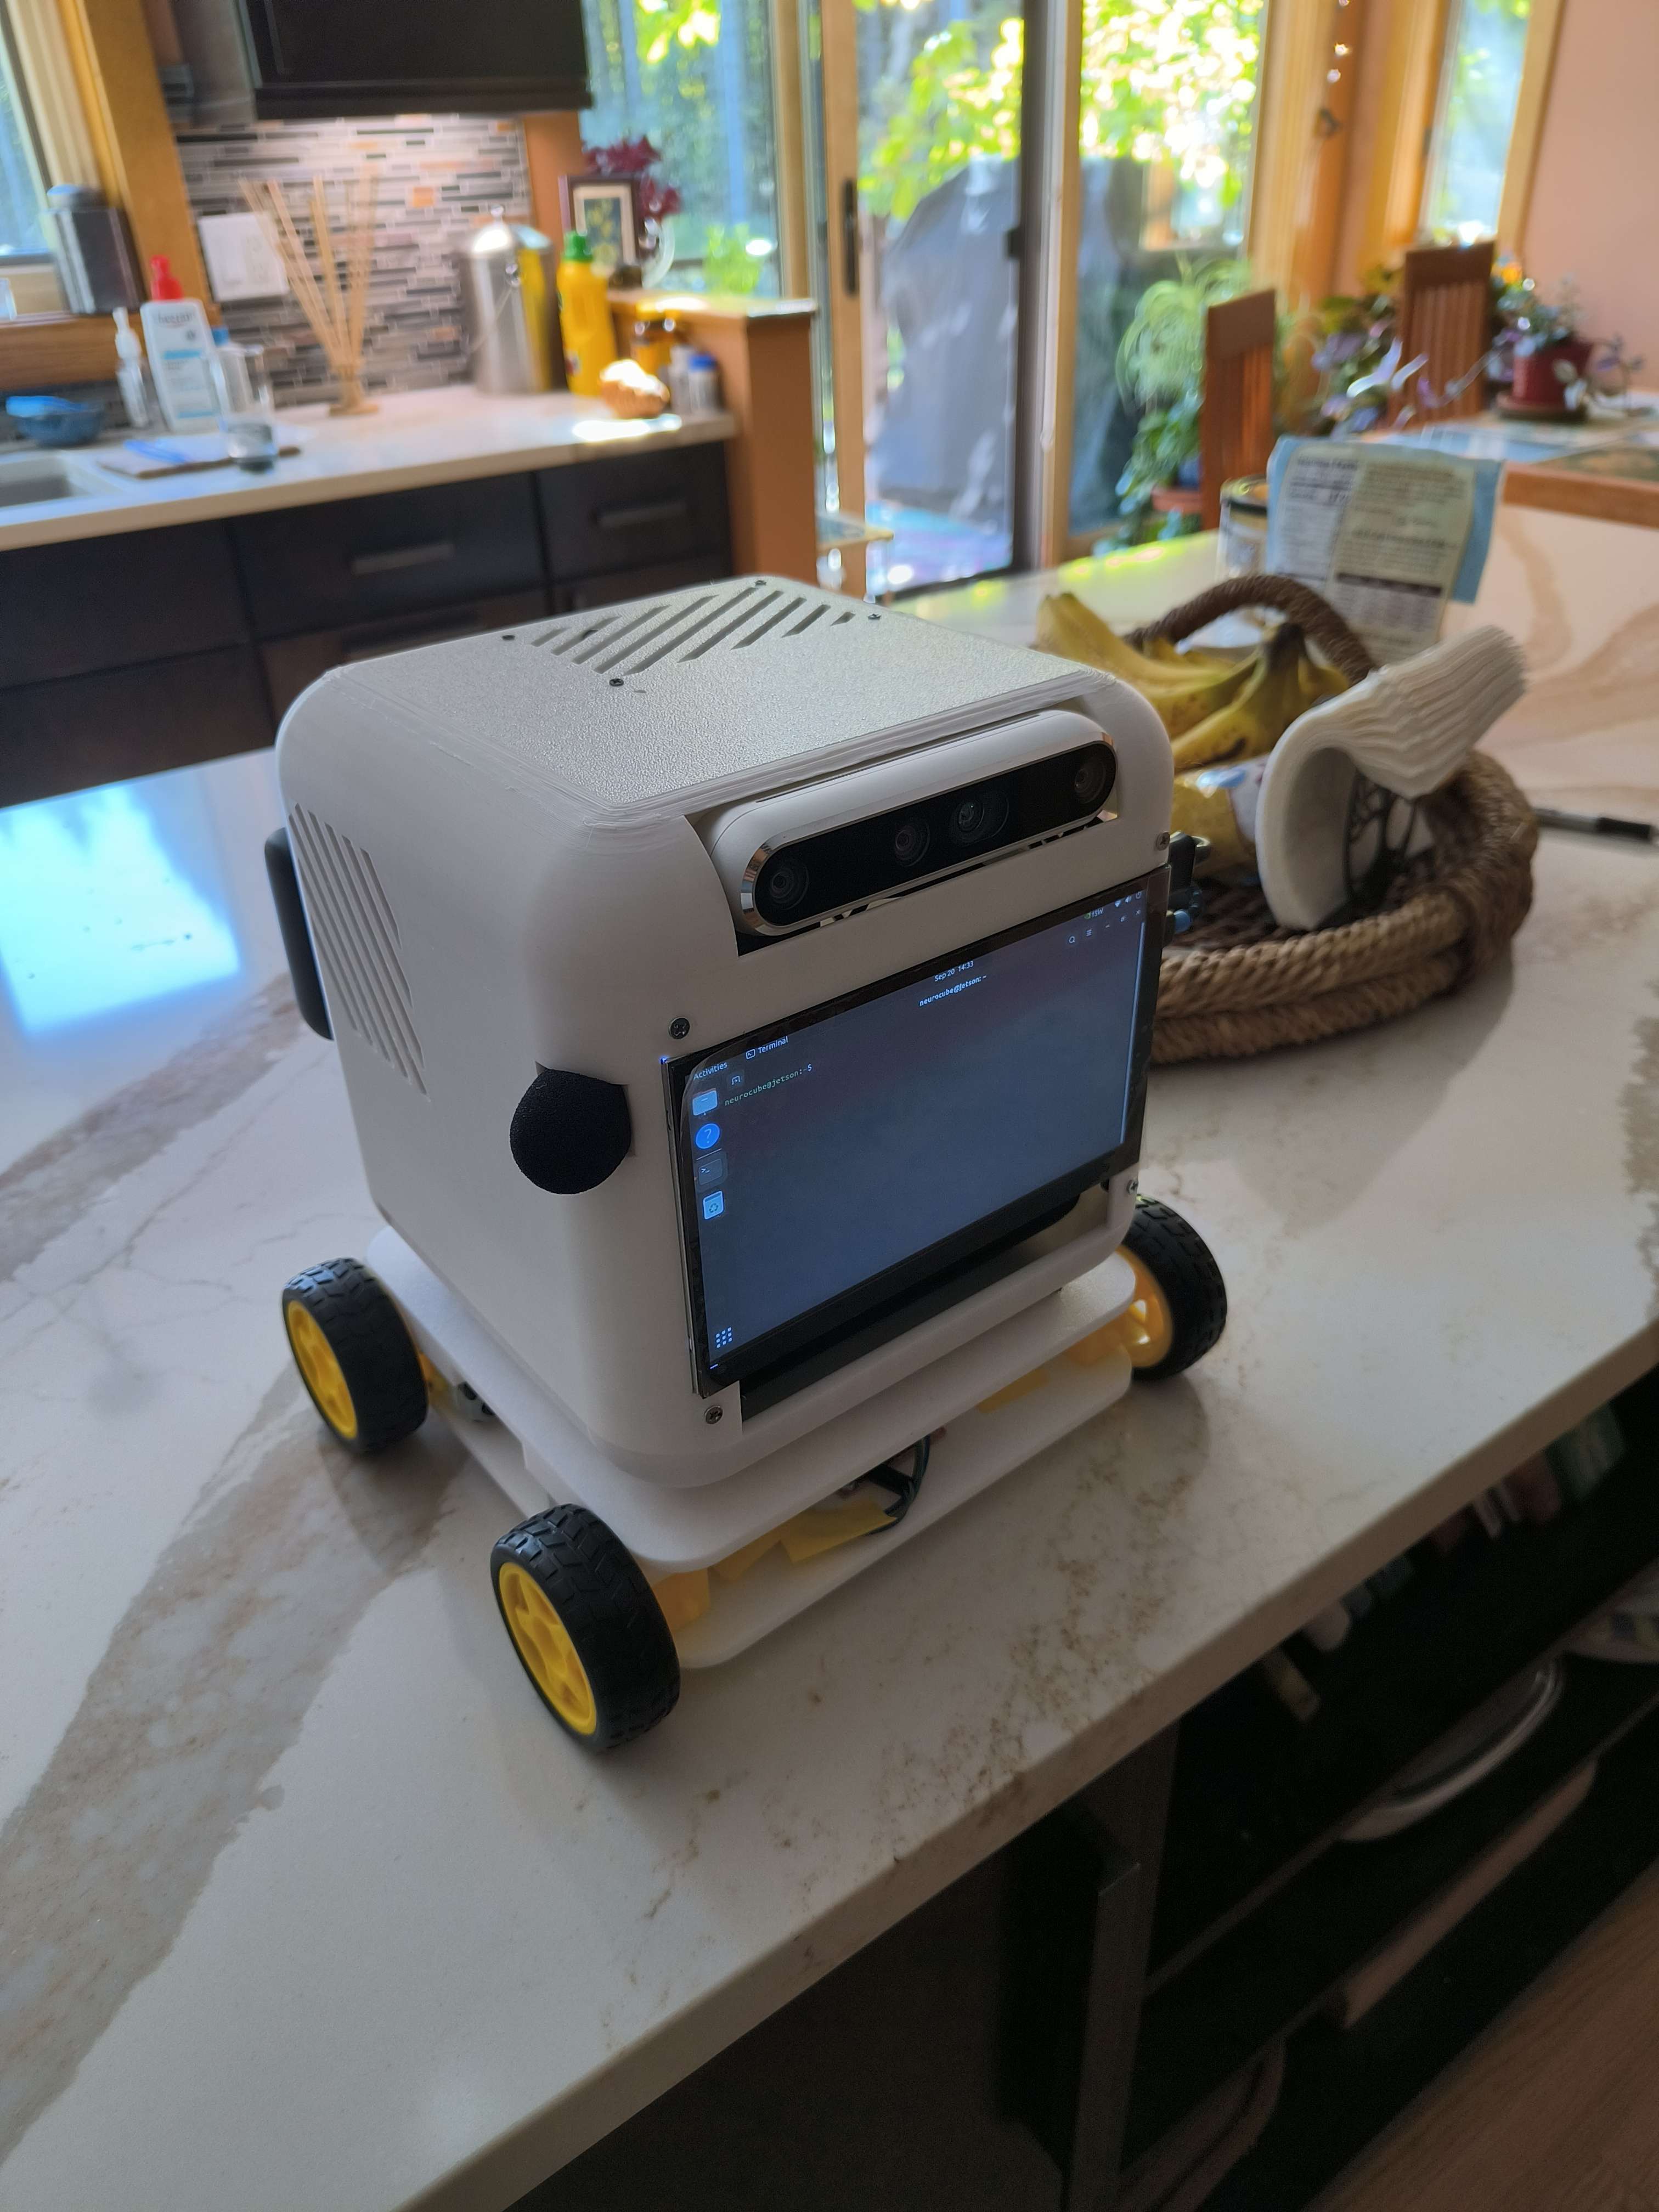
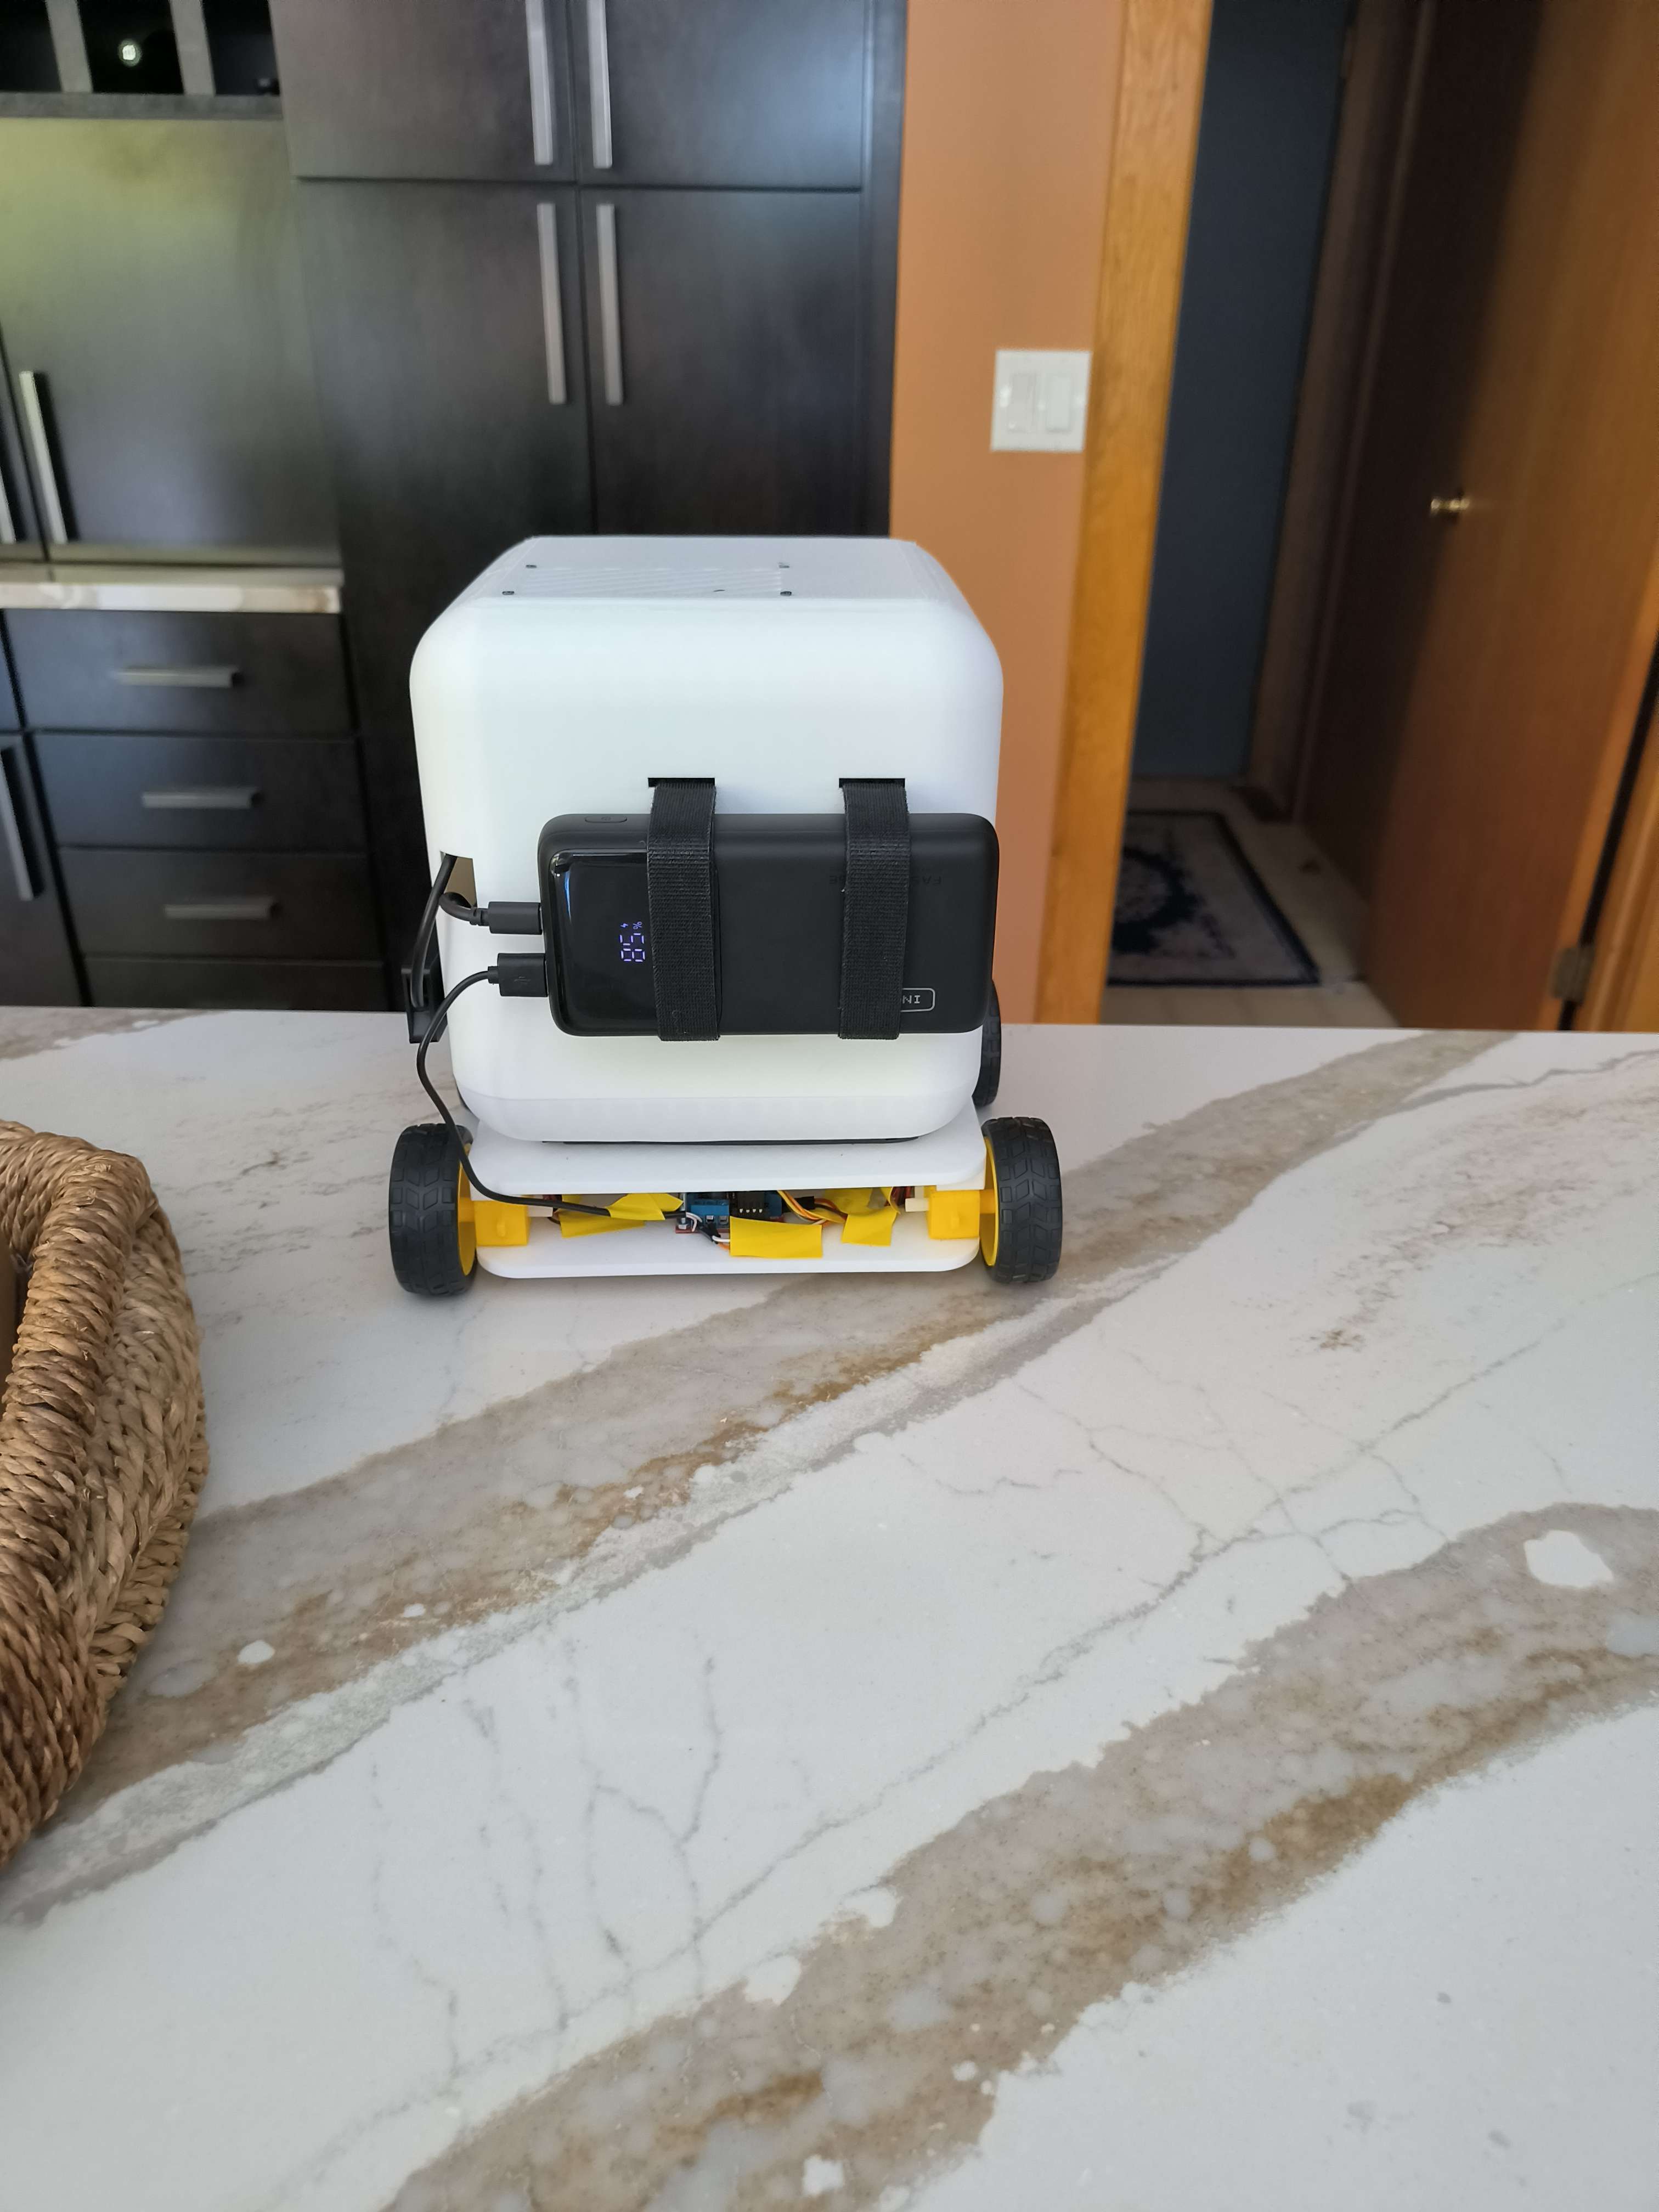
Final Result
Next Steps
- Deploy digital twin navigation system onto physical robot.
- Now that the physical design matches the digital twin, I can begin testing out the navigation system on the physical robot.
- Implement additional MCP tools
- I have some ideas for additional tools to implement for the MCP system, such as a file sharing tool and a self studying tool.
- Begin working on a robotic arm attachment.
- Next, I want to integrate arm movement and functionality within the existing ROS framework, likely using a package such as MoveIt.